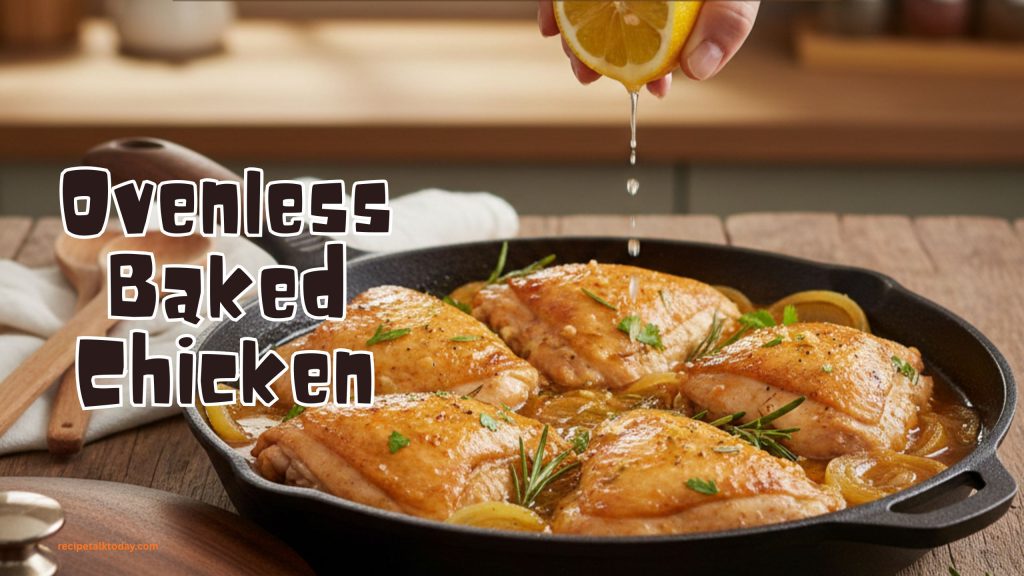
Forget the oven. You can make soft, juicy, perfectly cooked chicken entirely on your stovetop. No oven needed. Just a pan, gentle heat, and the lid trick. Done in 25 minutes.
Why This Works
Not everyone has an oven. Some people have tiny kitchens. Some live in hot climates where turning on the oven is a nightmare. Some just prefer cooking on the stovetop. This ovenless baked chicken recipe answers all those needs by proving you can get the exact same tender, juicy results without any oven at all.
The secret is braising. A little liquid, a covered pan, and low heat create a steaming environment that perfectly cooks chicken from the outside in. The meat stays juicy because steam traps moisture. The flavor develops because the chicken sits in its own juices plus your seasonings. Everything happens on the stovetop.
This method is actually better than baking in some ways. You can watch the cooking process. You can adjust heat if needed. You have more control. The result is restaurant-quality chicken that tastes like you spent hours cooking it.
Ingredients
Serves 4 people (25 minutes total)

For the Chicken
- 600g (1.3 lbs / about 4 medium) boneless chicken breasts or thighs
- 15 ml (1 tablespoon) cooking oil
- 3g (½ teaspoon) salt
- 2g (¼ teaspoon) black pepper
For the Braising Liquid
- 120 ml (½ cup) chicken broth
- 30 ml (2 tablespoons) butter
- 3 cloves garlic (9g / ⅓ oz), minced
- 2g (½ teaspoon) dried thyme or Italian seasoning
- 1g (¼ teaspoon) paprika
- Squeeze of fresh lemon juice (optional)
Optional Add-Ins
- Fresh herbs like rosemary or parsley
- Sliced mushrooms
- Thinly sliced onions
- Sliced lemon
Equipment Needed
- 1 large skillet with a lid (12-inch / 30cm ideal)
- 1 wooden spoon or spatula
- Knife and cutting board
- Paper towels
- Meat thermometer (optional but helpful)
Step-by-Step Instructions
Prep (3 minutes)
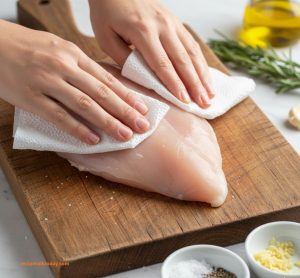
- Pat dry: Use paper towels to dry chicken completely. Dry surfaces brown better.
- Season: Sprinkle salt and black pepper on both sides of each chicken piece.
- Prepare aromatics: Mince garlic and set aside with your seasonings.
Cook (22 minutes)
- Heat the pan: Place large skillet over medium-high heat. Add cooking oil and let it shimmer (about 1 minute).
- Sear the chicken (3 minutes): Place chicken pieces in hot oil. Cook for 3 minutes WITHOUT moving them. You want some color on one side. This builds flavor.
- Flip (2 minutes): Using tongs, flip each piece. Cook for 2 more minutes on the second side. You’re not trying to cook it through—just brown it slightly.
- Add butter and aromatics: Reduce heat to medium. Add butter to the pan. Once melted, add minced garlic. Stir for 30 seconds until fragrant.
- Add liquid and seasonings: Pour in chicken broth around the chicken (not over it). Sprinkle thyme, paprika, and any other seasonings. Add mushrooms or onions now if using.
- Cover and braise (15 minutes): Place lid on the pan. Reduce heat to medium-low. This is crucial—medium-low heat creates gentle steam that cooks the chicken evenly without drying it out.
- Don’t peek: Resist the urge to lift the lid and check. Let the steam do its work. Steam escaping stops the cooking process.
- Check at 15 minutes: Carefully lift the lid (watch for steam). Cut into the thickest piece. Inside should be white or very light pink, not dark pink. If still pink, cover and cook 2 more minutes.
- Verify doneness: Use a meat thermometer if you have one—chicken is done at 74°C (165°F) internal temperature.
Finish (2 minutes)
- Squeeze lemon: Add a squeeze of fresh lemon juice if you have it. This brightens everything.
- Rest and serve: Transfer chicken to plates. Spoon the braising liquid and any vegetables over top.

Real Tips
- Medium-low heat is essential: High heat dries chicken out. Low to medium-low creates perfect moisture.
- Don’t skip the searing step: Browning the outside before braising adds flavor through the Maillard reaction.
- The lid is your secret weapon: The lid traps steam and creates an oven-like environment on your stovetop.
- Pat dry before starting: Moisture prevents browning. Use plenty of paper towels.
- Use thighs if you can: They have more flavor and can be overcooked longer than breasts.
- Don’t lift the lid constantly: Let steam stay inside. Every peek lets heat escape.
For more pan-based chicken methods, try our Garlic Butter Chicken for a quicker option, or explore Grilled Chicken in Pan for a different stovetop technique with beautiful grill marks.
Easy Variations
Change the flavor while keeping the method:
- Lemon herb: Add 15 ml (1 tablespoon) fresh lemon juice and fresh thyme
- Garlic forward: Double the garlic (6 cloves)
- Wine braised: Replace half the broth with dry white wine
- Creamy: Stir in 60 ml (¼ cup) heavy cream after cooking (don’t boil)
- Tomato-based: Add 120 ml (½ cup) crushed tomatoes to the braising liquid
- Mushroom: Sauté sliced mushrooms with the garlic before adding broth
- Spicy: Add pinch of cayenne or red pepper flakes
Simple Swaps
Don’t have exactly what you need? Use this:
| Need | Use This |
|---|---|
| Chicken breasts | Chicken thighs (add 3-5 minutes cooking time) |
| Chicken broth | Water (adds flavor but takes more seasoning) |
| Butter | Olive oil |
| Fresh garlic | ½ teaspoon garlic powder |
| Dried thyme | Any dried herb or Italian seasoning |
| Lid | Aluminium foil tented over the pan |
Storage & Leftovers
Refrigerator
- Cool first in the pan
- Store with braising liquid in an airtight container
- Lasts 4-5 days
- Reheat gently on the stovetop over medium-low heat
Freezer
- Cool completely first
- Freeze with braising liquid in a container or bag
- Lasts up to 3 months
- Thaw overnight in the fridge
- Reheat on the stovetop or in the microwave gently
Best Sides
- Rice (white, brown, jasmine, or pilaf)
- Egg noodles or pasta
- Mashed or roasted potatoes
- Steamed vegetables
- Fresh green salad
FAQs:
Q: Why is my chicken still pink inside?
A: Cook 3-5 more minutes. Use a meat thermometer—it’s done at 74°C (165°F) internal.
Q: Can I use a slow cooker instead?
A: Yes! Cook on low for 4-6 hours or high for 2-3 hours. Same braising concept.
Q: What if I don’t have a lid?
A: Use aluminum foil tented over the pan. It traps steam just as well.
Q: Can I cook frozen chicken?
A: Thaw first for best results. Frozen chicken cooks unevenly and takes much longer.
Q: How much liquid should remain after cooking?
A: About half should remain. Serve this braising liquid over the chicken.
Final Thoughts
This ovenless baked chicken proves that your stovetop is just as powerful as your oven. Sometimes more powerful because you have direct control. Sometimes better because you can watch the process unfold.
Make this when you want oven results without firing up your oven. Make it because it’s faster. Make it because it teaches you a cooking technique that works for any protein—beef, pork, turkey.
That’s real cooking.