
By Michael Hayes — RecipeTalkToday
Most people reach for a saucepan when they think about grains, but a wide frying pan actually works well for quinoa. The larger surface area helps liquid evaporate evenly, which can reduce the mushy texture that sometimes happens in a deep pot. This guide walks through the full process, common mistakes, pan choices, and safety basics so your quinoa turns out fluffy and evenly cooked.
Frying Pan Cooking
Stovetop Technique
Grain Prep
Kitchen Safety
Why Use a Frying Pan for Quinoa Instead of a Saucepan
Quinoa is a small, ring-shaped seed that cooks similarly to rice but faster. Most recipes suggest a saucepan, but a frying pan has one clear advantage: a wider base means more contact between the grain and the heat source, so water absorbs more evenly across the batch. In daily cooking, I usually notice fewer clumps at the bottom of a wide pan compared to a narrow, deep pot.
This matters most when you’re cooking a smaller portion, toasting the quinoa first for extra flavor, or want the water to reduce faster on a weeknight. If you already own a good frying pan with a lid, there’s no real need to buy a separate pot just for grains.
How Frying Pan Cooking Works for Quinoa
The method relies on absorption cooking: quinoa is combined with a measured amount of water, brought to a simmer, then covered so steam finishes the job. A frying pan’s shallow depth speeds up evaporation, which is why the liquid ratio and lid fit matter more here than in a tall pot.
Toasting the dry quinoa in the pan for one to two minutes before adding water is optional but common. It brings out a slightly nutty flavor and can help the grains stay more separate once cooked. A pan with a heavy, flat base distributes heat more evenly, which reduces the chance of scorching in one spot while other areas are still undercooked.
What You Need Before You Start
Before you cook quinoa in a frying pan, gather a few basics: a fine-mesh strainer for rinsing, a frying pan with a well-fitting lid, a measuring cup, and a fork for fluffing at the end. Rinsing removes the natural coating called saponin, which can otherwise leave a bitter or soapy taste.
Check that your pan’s lid actually seals well against the rim. A loose or warped lid lets too much steam escape, which is one of the most common reasons quinoa turns out dry or unevenly cooked in a frying pan compared to a saucepan.
Step-by-Step: How to Cook Quinoa in a Frying Pan
Rinse the quinoa. Place 1 cup of quinoa in a fine-mesh strainer and rinse under cool running water for about 30 seconds, rubbing the grains gently between your fingers.
Toast it lightly (optional). Add the drained quinoa to a dry or lightly oiled frying pan over medium heat. Stir for one to two minutes until it smells slightly nutty.
Add liquid. Pour in about 1 3/4 cups of water or broth per cup of dry quinoa. Add a pinch of salt if you like.
Bring to a simmer. Raise heat until the liquid bubbles gently, then reduce to low. A rolling boil can cause uneven cooking and boil-overs in a shallow pan.
Cover and cook. Put the lid on and let it cook undisturbed for 15–18 minutes. Resist lifting the lid, since escaping steam slows even cooking.
Rest, then fluff. Remove from heat, keep it covered for 5 minutes, then fluff gently with a fork. The grains should look translucent with a small curled tail.
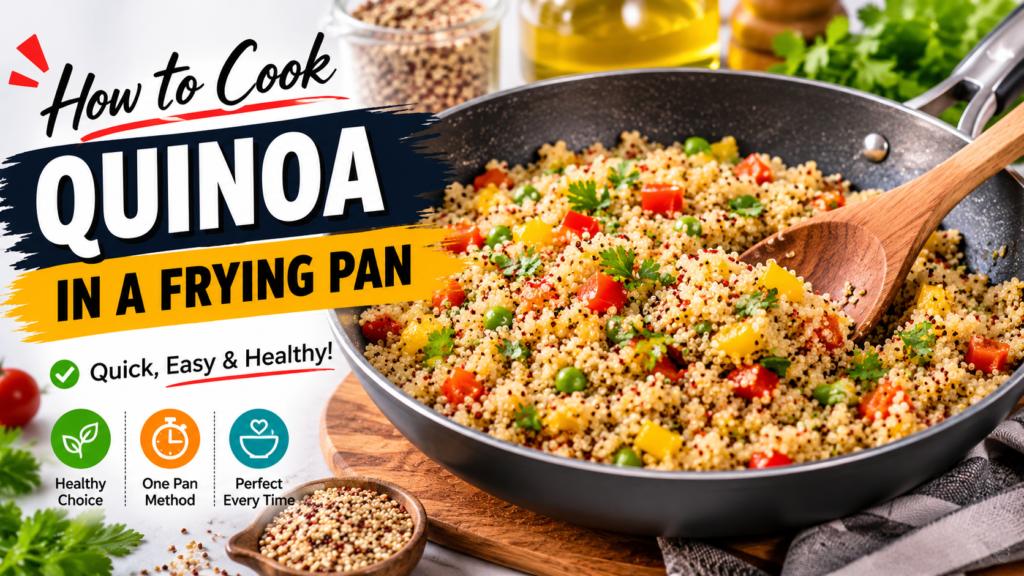
Quick visual: the frying pan quinoa routine
In practice: skipping the rest step is the most common shortcut that leads to a wetter texture.
Frying Pan vs. Other Cooking Methods
Safety and Hygiene Checks
Quinoa itself is low-risk, but a few habits reduce problems. Always rinse it before cooking, since unwashed saponin residue can cause an off, bitter taste rather than a health issue. Keep raw quinoa in a sealed, dry container to avoid moisture and pests, and refrigerate cooked leftovers within two hours in a shallow, covered container.
Watch the pan while the liquid is coming to a simmer. Because a frying pan is shallow, it’s easier for water to boil over onto a stovetop flame or heating element than in a deeper pot, which is a burn and fire risk worth a moment of attention.
Common Problems and Likely Causes
Quick troubleshooting path
Quinoa still watery after 18 minutes? → Re-cover, cook 2–3 more minutes on low → Still wet? → Remove lid briefly on low heat to let excess steam escape → Fluff and check again.
Interpretation: small time adjustments usually fix texture issues before you need to start over.
Safe vs. Risky Stovetop Habits
Choosing the Right Frying Pan
Not every frying pan handles quinoa equally well. A heavier base holds steady heat, which reduces scorching, and a pan around 10–12 inches wide gives enough surface area for a standard 1-cup batch without spreading it too thin.
Pan Material Fit for Cooking Quinoa
Pan care checklist dashboard
Interpretation: a pan that fails several of these checks is more likely to cook quinoa unevenly.
Common Mistakes and Better Choices
Leaves a bitter, soapy taste from natural saponins. A quick 30-second rinse in a fine-mesh strainer solves it before you even start cooking.
Eyeballing liquid often leads to mushy or dry results. Measuring roughly 1 3/4 cups of water per cup of quinoa keeps texture consistent.
Checking repeatedly releases steam and slows cooking unevenly. Trust the timer and only check near the end.
Fluffing immediately traps extra moisture. Resting covered for 5 minutes lets steam finish the job evenly.
Mistake vs. Better Choice
Pro Tips and What Experienced Cooks Check
Beginners often stop paying attention once the lid goes on. Experienced home cooks still glance at the steam escaping around the lid edge in the first few minutes, since a lot of visible steam early on can mean the heat is set too high. They also fluff with a fork rather than a spoon, which keeps the grains from clumping together.
Another habit worth adopting: tilt the pan slightly at the end to check if any liquid pools in one corner, which usually means the pan isn’t sitting flat on the burner.
Relative priority: what affects texture most
This is a practical guide based on typical routine priority, not lab-tested data.
A wide, lidded frying pan can make daily cooking easier for grains like quinoa, since a tight-fitting lid helps hold steam in during the simmer stage. Many home cooks find a 10–12 inch size convenient for both grains and everyday sautéing.
A dedicated fine-mesh strainer can support more consistent rinsing since quinoa grains are small enough to slip through wider colanders. This step matters for anyone practicing how to cook quinoa in a frying pan without a bitter aftertaste.
If a nonstick coating is peeling, bubbling, or flaking, stop using the pan and check the manufacturer’s guidance on replacement. If you experience a burn from boil-over or splattering liquid, run cool water over the area and seek medical attention for anything beyond a minor burn. For repeated food-safety concerns with stored leftovers, such as unusual smell or texture, discard the food and consult general food safety guidance rather than tasting it to check.
Frequently Asked Questions
Can I cook quinoa in a frying pan without a lid?
A lid is recommended because it traps steam needed for even cooking. Without one, more liquid evaporates and the quinoa may turn out dry or undercooked in the center.
What is the correct water-to-quinoa ratio in a frying pan?
A common starting point is 1 3/4 cups of water per cup of dry quinoa, though a wider pan may need slightly less due to faster evaporation.
Do I have to toast quinoa before cooking it in a frying pan?
No, toasting is optional. It adds a nutty flavor but skipping it still produces properly cooked quinoa if the water ratio and timing are correct.
Why is my quinoa mushy when I cook it in a frying pan?
Mushy texture usually means too much water was used or the lid was removed too early, letting condensed steam drip back into the pan.
Is it safe to use a nonstick frying pan for quinoa?
Nonstick pans are commonly used for grains, but always check the manufacturer’s maximum heat guidance and avoid using the pan if the coating is scratched or flaking.
How long does cooked quinoa last after frying pan cooking?
Cooked quinoa is typically safe in the refrigerator for a few days when cooled promptly and stored in a sealed container. Check general food safety guidance for exact timeframes.
Can I cook quinoa and vegetables together in the same frying pan?
Yes, many home cooks add quick-cooking vegetables partway through the simmer. Just account for the added moisture, which may slightly change the total cooking time.
Trusted Resources
For general food storage guidance, see FoodSafety.gov. For broader food handling information, see the USDA. For cookware product safety concerns, see the U.S. Consumer Product Safety Commission.
Learning how to cook quinoa in a frying pan mostly comes down to a good rinse, an accurate water ratio, a well-sealed lid, and a short rest before fluffing. Once you’ve done it a couple of times, it becomes a quick weeknight habit. Always confirm care instructions with your pan’s manufacturer, and seek medical or professional help for any burns, injuries, or persistent food-safety concerns.
— RecipeTalkToday
