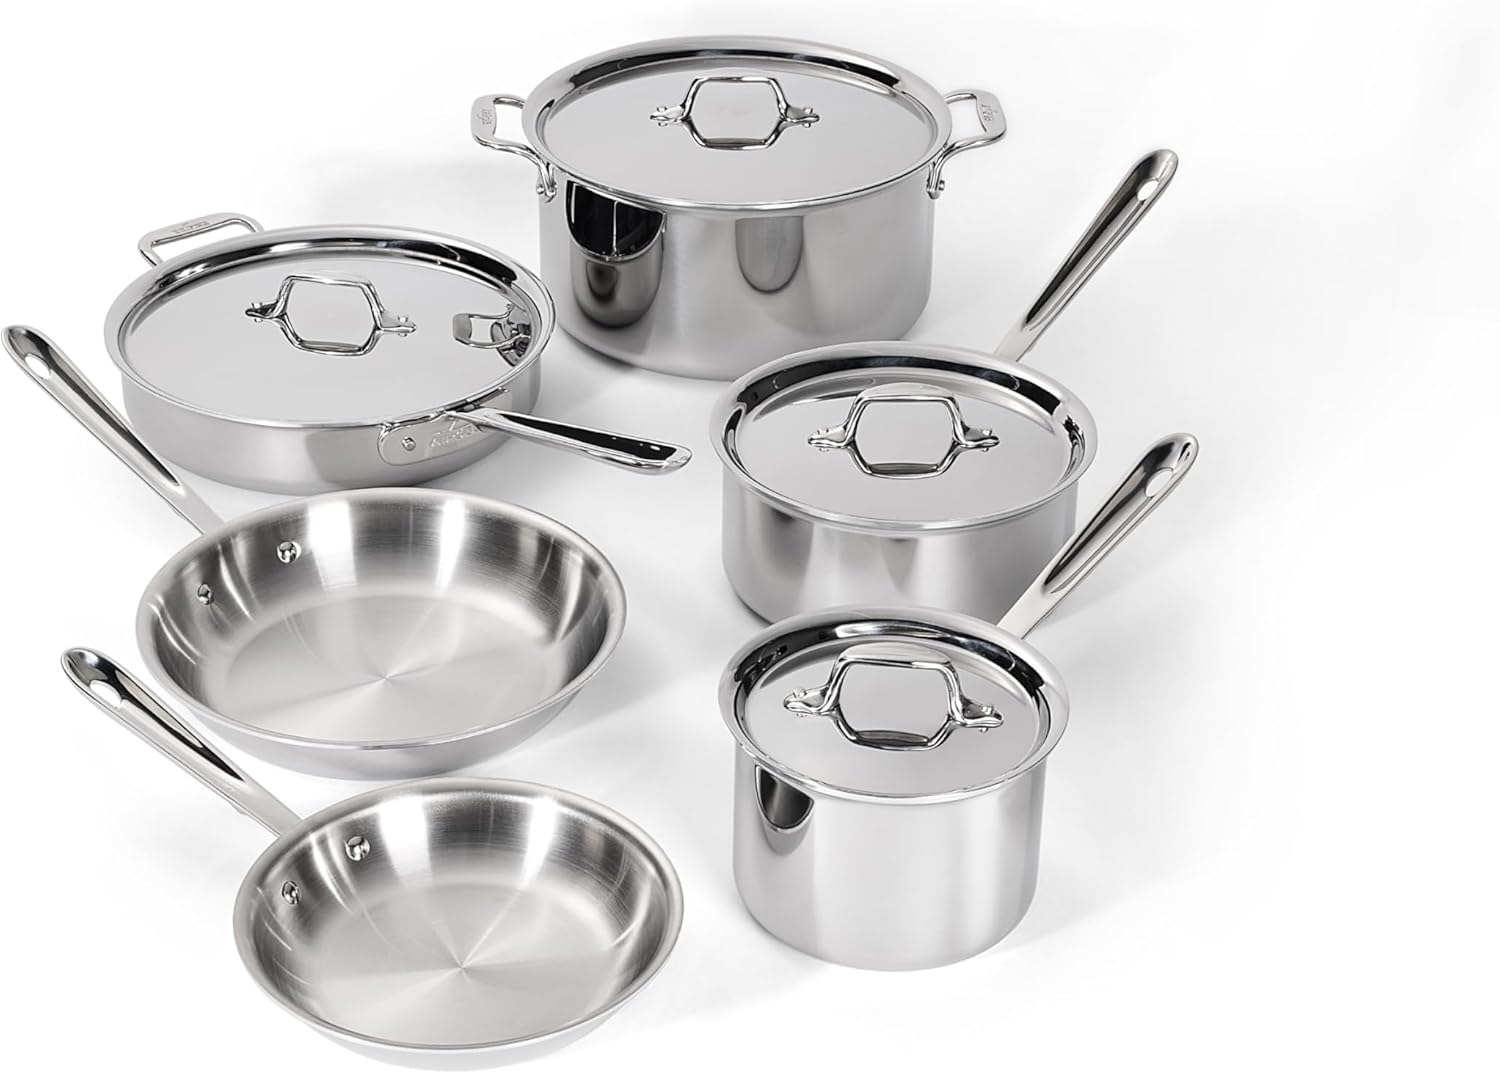
Two Dutch ovens can share the oven, making it easier to bake multiple loaves or prepare separate dishes at once. Yes, two Dutch ovens can go in the oven at the same time if they fit securely and allow enough room for heat to circulate.
The oven should support their combined weight, and both pots should handle the recipe’s temperature. Preheating the Dutch ovens helps bread bake more evenly, while rack placement and airflow can affect results. Michael Hayes of VoiceOfKitchen.com also recommends checking each pot’s handles, lid, and heat rating before cooking.
Key Takeaways
- Two Dutch ovens can cook safely in one oven when they fit properly.
- Allow space for airflow and check the oven’s weight limit.
- Preheat the cookware and monitor cooking time for even results.
Safety And Feasibility Basics
Two Dutch ovens can usually share an oven when both fit safely, allow enough air circulation, and suit the oven’s temperature limit. The cook should also check the cookware’s handles, lids, racks, and weight capacity before starting.
When Dual-Dutch-Oven Cooking Works
Dual-Dutch-oven cooking works best when both pots fit on the same rack or on separate racks without touching the oven walls. The oven door must close fully, and the pots should not block all airflow around each other. A standard full-size oven often has enough width for two smaller Dutch ovens placed side by side.
The cook can normally use the same temperature and baking time as for one loaf. Adding a second pot does not automatically require a higher temperature. However, both Dutch ovens should preheat fully, especially when baking bread. A covered pot traps steam, so each loaf can develop its own crust and rise.
| Check | Safe condition |
|---|---|
| Oven space | Both pots fit without touching the walls |
| Rack support | The racks can hold their combined weight |
| Airflow | Some space remains around each pot |
| Cookware | Handles, lids, and knobs tolerate the set temperature |
| Door | The oven closes completely |
The cook should rotate the pots or switch rack positions if the oven heats unevenly. Heat-resistant gloves are essential because two hot Dutch ovens increase handling weight and burn risk.
When To Cook In Separate Batches
Separate batches work better when the Dutch ovens crowd the oven, rest directly against its sides, or block the door from closing. A small oven may not provide enough room for two large pots, even if both technically fit inside. Crowding can also make rack removal difficult and increase the chance of dropping a heavy pot.
The cook should use separate batches when the oven has weak or uneven heat, when the recipes need different temperatures, or when one pot requires a much longer cooking time. Bread baked on separate racks may also brown differently, so baking one loaf at a time can produce more consistent results.
The cookware manufacturer’s temperature limits should guide the decision. Some enamel finishes, lids, knobs, and handles tolerate less heat than the cast-iron pot itself. The cook should never force two pots into the oven or place a heavy Dutch oven on a rack that cannot support it.
Oven Space And Airflow
Two Dutch ovens need enough room for hot air to move around them. Their placement also affects how evenly the oven heats each pot and how easily the cook can rotate or remove them.
Leave Clearance Around Each Pot
Each Dutch oven should sit flat on the rack with space between its sides and the oven walls. A gap of about 1–2 inches helps hot air move around the pots and reduces contact with the oven’s hottest areas.
Place the pots side by side when possible. Do not stack them, and avoid letting their lids or handles touch the oven walls, heating elements, or each other.
| Arrangement | Recommendation |
|---|---|
| Side by side | Best when both pots fit with clearance |
| Front to back | Acceptable if the oven allows airflow |
| Stacked | Avoid; it blocks heat and creates uneven cooking |
| Crowded against the walls | Avoid; it can increase hot spots |
The pots should have similar sizes and cooking temperatures. A large pot placed directly beside a small one may limit airflow and produce different results.
Avoid Blocking Heat Circulation
The oven needs open paths above, below, and around both Dutch ovens. Place the rack in the center position when the pots fit there. If they must use two racks, leave space between the racks and rotate the pots halfway through cooking.
Keep the Dutch ovens away from the oven’s heating element. On an electric oven, avoid placing a pot directly beneath the top element or directly above the bottom element. On a gas oven, make sure the lower pot does not block the oven’s vents.
Opening the door briefly to rotate the pots can improve even cooking, but frequent openings release heat. Since two heavy pots can change the oven temperature, the second loaf or dish may need a few extra minutes. A convection setting may improve airflow, but the cook should follow the recipe’s temperature guidance before lowering the heat.
Rack Positioning And Weight Limits
Two Dutch ovens can share an oven when the racks sit securely and the cookware has enough clearance. Proper spacing also helps hot air move around both pots and reduces the risk of a rack bending under excess weight.
Use Sturdy, Properly Positioned Racks
The oven racks should sit fully inside their side supports before the Dutch ovens go in. They should not rest on the oven door, a partial rail, or an uneven position. The rack should also stay level when pulled out, since an uneven rack can cause a heavy pot to slide.
Use separate racks only if the oven manual allows the needed load and provides enough vertical space. Leave several inches between the Dutch oven and the oven walls, roof, and heating elements. This clearance supports airflow and prevents the pot from touching hot surfaces.
For two loaves, place one Dutch oven on the middle-lower rack and the other on the middle-upper rack. If the oven heats unevenly, rotate the pots carefully halfway through baking, moving each pot from front to back rather than changing racks.
Distribute Heavy Cookware Evenly
A cast-iron Dutch oven can weigh a lot before adding dough, water, or food. The oven manual gives the most reliable rack weight limit, and that limit should include the pot, its lid, and its contents.
| Placement | Safer practice |
|---|---|
| One pot per rack | Use only when each rack supports the load |
| Two pots on one rack | Center them with space between them |
| One very heavy pot | Place it near the rack’s center |
| Uncertain weight limit | Check the manual before heating |
Two pots should not sit directly above each other if the upper pot makes the rack below unstable or blocks heat circulation. When both pots share one rack, they should sit over the rack’s strongest central area, not at the front edge. The rack should move smoothly and remain level after the pots are added.
Temperature And Cooking Time Adjustments
Two Dutch ovens can share an oven when both dishes use a suitable temperature and the pots have enough space around them. The oven may need extra recovery time after loading, and each dish should be checked on its own schedule.
Account For Heat Recovery After Loading
Two heavy Dutch ovens absorb more heat than one, especially when they start cold. After the oven door closes, the temperature may drop for several minutes. The oven then works to return to the set temperature, so the cooking time can increase slightly.
The cook should preheat the oven fully before adding either pot. They should place the ovens on separate racks or side by side, leaving space around each pot for air movement. If the recipe allows it, convection can improve heat circulation, but the cook should follow the oven maker’s guidance for using heavy cookware.
Avoid raising the temperature to make up for heat loss. A higher setting can burn the outside before the center cooks. Instead, allow extra time and keep the oven door closed as much as possible.
Check Doneness Independently
Each Dutch oven may cook at a different rate because of its position, size, contents, and starting temperature. The cook should not remove both pots simply because one dish finishes first.
| Food type | Best doneness check |
|---|---|
| Braised meat | Test tenderness with a fork and check internal temperature |
| Stew | Check that meat and vegetables feel tender |
| Bread | Check crust color and use an internal temperature reading when appropriate |
| Casserole | Check that the center is fully hot and set |
The cook should rotate the Dutch ovens only if the recipe permits it and should switch rack positions when one oven area runs hotter. A food thermometer gives a more reliable result for meat and reheated dishes than cooking time alone.
Choosing Compatible Dutch Ovens
Two Dutch ovens work well together when their bases, lids, and handles fit the oven without crowding. Matching materials also helps: both should have oven-safe ratings that meet or exceed the cooking temperature. Cast iron models often work well, but the manufacturer’s temperature limit still applies.
Match Pot Sizes To Available Space
Measure the oven rack before choosing the pots. A standard oven often has about 24 to 25 inches of usable width, but the interior shape and rack supports can reduce that space. Measure each Dutch oven at its widest point, including side handles.
Place the pots side by side if their combined width leaves a small gap between them and the oven walls. Avoid forcing them against the sides, because crowded cookware can block airflow and make handling difficult. If the pots do not fit side by side, place one on each rack only if the oven allows enough vertical clearance.
Keep both pots on stable, level racks. Leave room to pull each rack forward safely without hitting the other lid or pot. For more information about oven-safe cookware materials, readers can consult Dutch oven design.
Consider Lid Height And Handle Clearance
Check the full height of each Dutch oven with its lid in place. Knob-style lids can add several inches and may touch the upper heating element or oven roof. The lid should sit flat, with clear space above it and no contact with the rack above.
Measure the distance between oven racks before placing one pot above another. Leave enough room to lift the upper lid without striking the oven ceiling. Long side handles also need clearance from the door and walls.
Use metal or oven-rated knobs and handles at the selected temperature. Some plastic or composite parts have lower limits than the pot itself. If either lid handle exceeds its rating, replace it with a suitable oven-safe handle before cooking.
Managing Different Recipes
Different recipes can share an oven when they use similar temperatures and cooking methods. The cook should plan their timing, leave room for airflow, and keep strong flavors from affecting delicate foods.
Coordinate Temperatures And Timelines
Set the oven to the temperature required by both recipes. If one dish needs 350°F and the other needs 375°F, the cook should usually choose the lower temperature and extend the hotter recipe’s cooking time. A separate oven thermometer can confirm that the oven holds the correct heat.
Place the Dutch ovens on separate racks with space around each pot. Avoid stacking them, and leave room for hot air to circulate. The lower pot may cook more slowly, so the cook should rotate or switch the pots halfway through cooking if the oven allows it.
Use each recipe’s stated time as a starting point, not a guarantee. Check the food with a thermometer or test it for doneness. Keep the lids on when a recipe needs trapped steam, but remove them when the dish must brown or reduce.
Prevent Flavor And Aroma Transfer
Strong aromas can move between uncovered dishes. Garlic, curry, smoked meat, fish, and spicy sauces may affect a mild stew, bread, or dessert. The cook should use tightly fitted lids and keep uncovered foods on separate racks when possible.
Avoid placing a sweet recipe below a savory dish that could drip. A baking sheet under either Dutch oven can catch spills, but it may also block heat from the lower pot. The cook should check the oven manual for safe cookware and rack placement.
When recipes contain allergens, such as nuts or seafood, covered cooking reduces contact but does not remove all risk. Separate utensils and clean oven racks provide better protection. For food safety guidance, the cook can consult the USDA food safety resources.
Loading, Rotating, And Removing Cookware
Proper handling helps prevent burns, spills, and damage to the oven. Place the Dutch ovens where heat can circulate, and plan each movement before opening the hot oven.
Use Safe Lifting Techniques
A Dutch oven filled with food can weigh more than 20 pounds. The cook should wear dry, heat-resistant oven mitts that cover the wrists and use both hands when lifting the pot or lid. Damp towels can transfer heat quickly and should not replace proper mitts.
The cook should open the oven door fully and pull the rack out only as far as its safety stop allows. A sturdy baking sheet or heatproof surface nearby provides a safe place for a hot lid or pot. The cook should keep face and hands away from the first burst of steam when removing a lid.
Before loading two pots, the cook should confirm that both fit without touching the oven walls, heating elements, or door. Heavy cookware belongs on a rack that can support its weight. The oven’s manual can provide rack limits and safe-use guidance; general information about Dutch ovens can also help identify suitable cookware.
Rotate Pots Only When Necessary
Two Dutch ovens can usually bake at the same temperature without changing the recipe’s stated heat. If one pot sits near a stronger hot spot, the loaves or dishes may brown at different rates. The cook should check progress through the oven window instead of opening the door repeatedly.
If rotation becomes necessary, the cook should wait until the recipe’s covered baking period ends unless the instructions require earlier action. Opening the oven releases heat and steam, which can affect bread structure. The cook should pull the rack out carefully, swap the pots’ positions, and close the door promptly.
Pots should rotate only from front to back or side to side while staying on the same rack. The cook should not move a hot Dutch oven between racks unless the rack is fully stable and the pot can be lifted safely. After baking, each pot should rest on a heatproof surface with space around it.
FAQs
Can two Dutch ovens go in the oven at the same time?
Yes. They can cook together if both pots fit safely, the oven has enough space, and the cookware can handle the selected temperature.
Does the oven temperature need to change?
Usually, no. The recipe can use the same temperature as it would for one Dutch oven. Two cold pots may take longer to heat, so the oven and pots should be preheated when the recipe calls for it.
Should the Dutch ovens sit side by side?
They should sit with space between them when possible. Avoid blocking the oven walls, vents, or heating elements. Each pot should rest securely on its rack.
Should the racks be switched during baking?
It depends on the oven. If one pot sits above the other, uneven browning may occur. Switching their positions halfway through baking can help, but the lids should remain closed during bread baking when possible.
Will two loaves need more baking time?
Not always. They may bake at a similar rate, but the oven can recover heat more slowly after both pots enter. They should be checked for doneness rather than relying only on the original timing.
Can different foods cook together?
Yes, if they need similar temperatures and cooking times. Strong-smelling foods may affect one another, and foods that release much moisture can change the oven environment.
Conclusion
Two Dutch ovens can go in the oven at the same time when the oven has enough room for proper airflow and safe placement. They should sit securely on separate racks or side by side without touching the oven walls or heating elements.
For bread, preheating both Dutch ovens helps each loaf start with a similar level of heat. The oven temperature usually does not need to change, but the loaves may need a little extra time if the oven loses heat when both pots enter.
- Leave space between the Dutch ovens.
- Avoid blocking the oven’s vents.
- Use the same rack position when possible.
- Rotate or switch the pots only if they brown unevenly.
- Check that each Dutch oven and its lid can handle the selected temperature.
Different foods may need different temperatures or cooking times, so they may not cook well together. A properly sized oven, fully heated cookware, and regular checks help produce more even results.