
By Michael Hayes
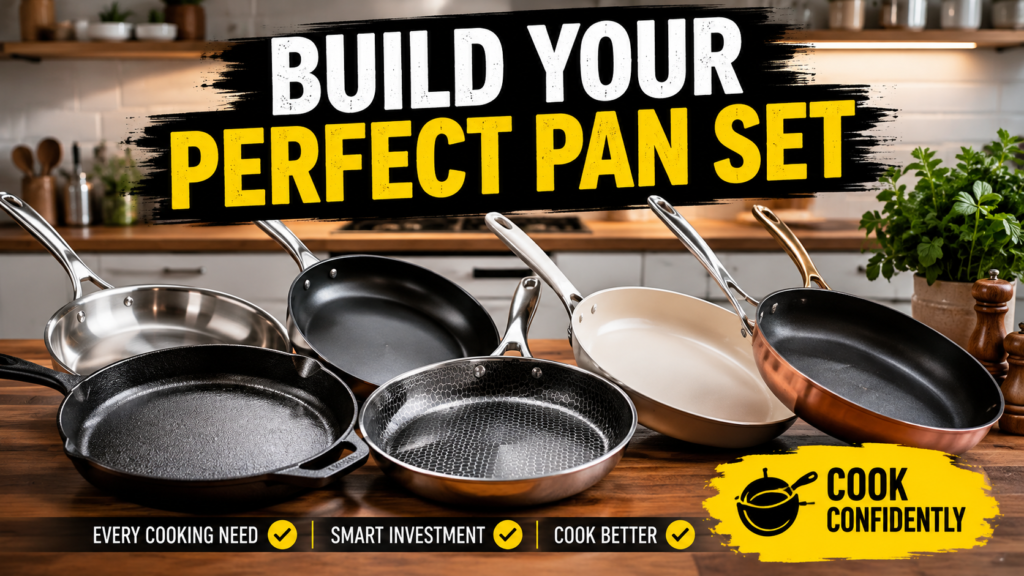
Learning how to build a frying pan collection is less about buying every pan on the shelf and more about matching a small set of pans to how you actually cook. Most home kitchens only need three or four pans, but choosing the wrong materials or sizes can lead to wasted money and frustrating cooking results.
Cookware Materials Pan Sizes Care & Cleaning Kitchen Safety Buying Guide
What It Means to Build a Frying Pan Collection
When people search how to build a frying pan collection, they usually don’t mean welding metal in a garage. They mean putting together a practical set of pans that covers everyday cooking, from eggs to searing to sauces. A good collection is built in stages, not all at once.
In daily cooking, I usually notice that people either buy one pan and try to make it do everything, or they buy a large boxed set and only use two pieces from it. Building a frying pan collection the right way means choosing pans based on function first, then filling gaps as your cooking habits change.
Why This Matters Before You Buy
Frying pans are not interchangeable. A pan built for delicate eggs is often a poor choice for a hard sear, and a pan meant for high heat may warp or degrade if used incorrectly. If you skip this step, you risk damaged cookware, uneven cooking, and wasted purchases.
A beginner can check this by listing the three meals they cook most often, then matching pan type to those meals. A more experienced home cook usually notices heat response, weight, and how a pan behaves over months of daily use, not just how it looks on day one.
Material Comparison Table
How a Frying Pan Collection Comes Together
Most people who ask how to build a frying pan collection are really asking which pan to buy first, second, and third. The general order that works for most kitchens is: one all-purpose pan, one high-heat pan, then a specialty size once you know what you’re missing.
Here’s a practical order for building a frying pan collection over time:
Practical guide: this order helps most home cooks avoid buying pans they rarely use.
What to Check Before You Buy
Before adding any pan to your collection, check size, weight, handle comfort, stovetop compatibility, and oven safety. A pan that feels light in the store can feel unstable once it’s full of food. Choose this if the handle stays cool and the base sits flat on your stove. Avoid this if the pan wobbles on a flat surface or the handle feels loose.
Product/Tool Fit Table
Safety and Hygiene Checks
Any time you build a frying pan collection, safety around heat and coatings matters as much as material choice. Overheating an empty nonstick pan, using damaged cookware, or ignoring a wobbling handle can lead to burns, food-safety concerns, or accidents.
Safe Practice vs Risky Practice
Common Problems and Fixes
People trying to build a frying pan collection often run into sticking food, warped bases, or dull cast iron performance. Most of these issues trace back to heat control or cleaning habits rather than the pan itself.
Problem vs Likely Cause
A simple decision path when a pan starts underperforming:
Practical guide: this path helps you decide between adjusting technique and replacing the pan.
Care and Cleaning Routine
How you clean each pan affects how long your collection lasts. Nonstick, stainless, and cast iron all need slightly different routines.
General cleaning routine after cooking:
Typical routine priority: drying fully matters most for preventing rust and buildup.
Common Mistakes When Building a Collection
The most common mistake is buying a large matching set before knowing which pans get used daily. A close second is choosing every pan in the same material, which leaves gaps for high-heat or delicate cooking.
Mistake vs Better Choice
Beginners often skip preheating and add food too early, which causes sticking even in a good pan. They also tend to overlook handle heat resistance.
Experienced cooks check how a pan holds heat over time and how it responds to sudden temperature changes, not just the first few uses.
Add a few drops of water to a dry pan; if they bead and roll instead of evaporating instantly, the pan is usually ready for oil.
Stack pans with a protective layer like a towel or pan protector to prevent scratching nonstick surfaces over time.
A mid-size nonstick pan can make daily cooking easier for eggs, pancakes, and quick weeknight meals as you build a frying pan collection.
A cast iron skillet may support more consistent searing once your pan collection is ready for higher heat cooking and oven-to-stove dishes.
Relative Priority When Building Your Collection
A practical guide to what typically matters most when adding a new pan:
This is a practical guide based on common kitchen use, not lab-tested data.
When to DIY vs When to Seek Manufacturer Help
For general food-contact material and cookware safety information, you can review guidance from the FDA’s food safety resources, the Consumer Product Safety Commission, and FoodSafety.gov.
Frequently Asked Questions
How many pans do I actually need to build a frying pan collection?
Most home kitchens work well with two to four pans: one all-purpose pan, a smaller egg pan, and a high-heat pan like cast iron or carbon steel.
What is the best material to start with?
A nonstick or stainless steel pan is often a practical starting point because it handles everyday meals without heavy maintenance.
Can I mix pan materials in one collection?
Yes. Many home cooks find that mixing materials, such as nonstick for eggs and cast iron for searing, covers more cooking needs than one material alone.
Is it safe to use metal utensils on any pan?
No. Metal utensils can damage nonstick coatings. They are generally fine on stainless steel and well-seasoned cast iron, but check the manufacturer’s care instructions first.
How do I know when a pan needs to be replaced?
Replace a pan if the coating is flaking, the base is visibly warped, or the handle is loose and cannot be safely tightened.
Do all pans work on induction stoves?
No. Induction stoves need a pan with a magnetic base. Confirm compatibility with the manufacturer before buying if you’re unsure.
When should I contact the manufacturer instead of troubleshooting myself?
Contact the manufacturer for suspected defects, unusual coating damage, or warranty questions rather than continuing to use a pan that seems unsafe.
Learning how to build a frying pan collection comes down to matching a small number of pans to how you actually cook, then caring for them consistently. Start with one everyday pan, add a high-heat option, and grow from there based on real use rather than trends. Always confirm care instructions and materials with the manufacturer, and seek professional or medical help for any injury, product defect, or ongoing food-safety concern.
