
By Olivia Bennett
Quick Answer: Pick cooking oil by smoke point and flavor. Refined oils like canola, avocado, and peanut suit high-heat searing and frying. Extra virgin olive oil works for sautéing and dressings. Toasted sesame and nut oils are finishing oils. Store all oils cool, dark, and sealed.
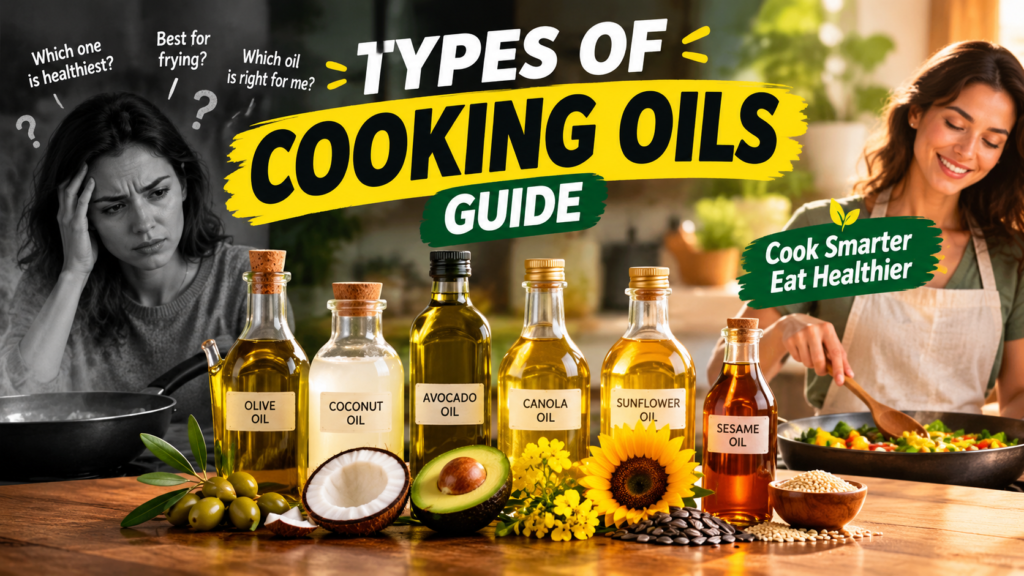
Cooking oil seems simple until you face twenty bottles in the grocery aisle. The wrong oil can smoke, taste bitter, or go bad before you finish it. This types of cooking oils guide shows how oils differ and which ones suit frying, sautéing, baking, and dressings.
This article is for general educational and buying-guidance purposes only. It does not replace the manufacturer’s official manual, food safety guidance, or professional advice. Materials, specifications, and care instructions can vary by product and should be confirmed with the manufacturer before purchase or use. For product defects, suspected food-safety issues, or injuries such as burns or cuts, contact the manufacturer, a qualified professional, or seek medical help as needed.
Types of Cooking Oils Guide: The Basics
Cooking oils are fats pressed from seeds, nuts, fruits, and beans. They carry heat to your food, prevent sticking, and add flavor. Oils differ in three ways: how much heat they handle, how strong they taste, and how long they stay fresh. Neutral oils like canola and vegetable suit most jobs. Olive and avocado oil bring more character. Toasted sesame and nut oils are strong and usually added at the end.
Comparison of Common Cooking Oils
Smoke points below are rounded, approximate ranges. They shift with brand, freshness, and refining, so check your bottle’s label.
Before the details, here is a simple routine for matching any oil to the job at hand.
Practical guide: Oil-matching routine
Low, medium, or high?
Quiet or bold?
Match oil to both.
Smell and look for smoke.
Start with heat, then flavor. High heat points to refined oils. Gentle heat or finishing gives delicate oils room to shine.
Smoke Point: Why It Matters
The smoke point is the temperature where oil starts to smoke steadily. Past it, oil can taste bitter and fill your kitchen with harsh fumes. Imagine searing chicken in extra virgin olive oil on high heat. The pan smokes before the meat is ready. Switching to refined avocado or canola oil, or lowering the heat, usually fixes this. Choose a high-smoke-point oil if you cook above medium heat. Choose olive oil if you cook gently or want flavor.
Warning: Never leave hot oil unattended. If oil smokes heavily, turn off the heat and let the pan cool before moving it.
Common Oil Problems and Likely Causes
If oil begins smoking in your pan, this path shows what to do next.
Practical guide: If oil starts smoking
Most smoke problems are fixed by turning down the heat. Treat flames as an emergency and act quickly.
Refined vs. Unrefined Oils
Refined oils are filtered and processed to remove particles and strong flavors. They usually handle more heat. Unrefined or virgin oils keep more natural flavor and color but often smoke sooner. Choose refined oils if you need high heat or a quiet taste. Choose unrefined oils if flavor is the goal, such as in dressings. Check the manufacturer’s guidance if the label names a specific cooking use.
Tip: Keep two workhorses: one neutral, high-heat oil and one extra virgin olive oil. That pair covers most weeknight meals.
Best Oils for Each Cooking Job
Frying and Searing
Refined peanut, avocado, canola, and vegetable oils are often used here. Their higher smoke points can make hot-pan cooking easier.
Sautéing and Roasting
Extra virgin olive oil and canola both work at medium heat. Olive oil adds flavor to vegetables and eggs.
Baking
Neutral oils keep muffins and cakes moist without adding taste. Follow the recipe, since swapping fats can change texture.
Finishing and Dressings
Toasted sesame, walnut, and olive oil shine when used raw. Heat can dull their flavor.
How to Choose an Oil in 5 Steps
Treat this types of cooking oils guide as a routine you can repeat at the stove.
- Check your heat. Decide if you will cook low, medium, or high.
- Decide on flavor. Pick neutral for quiet taste, or bold for character.
- Read the label. Note whether the oil is refined and any use notes.
- Smell first. Fresh oil smells clean, not stale.
- Watch the pan. Add food when oil shimmers, and adjust heat if it smokes.
Safe Practice vs. Risky Practice
Storing and Reusing Cooking Oil
Heat, light, and air make oil go rancid. Keep bottles in a cool, dark cupboard away from the stove, with caps on tight. Even the best types of cooking oils guide cannot fix oil that has gone off, so smell it before use. Rancid oil may smell like stale nuts or old crayons.
If you reuse frying oil, let it cool, strain out crumbs, and store it sealed. Discard it if it smells off, looks dark, foams, or smokes at low heat. Do not pour used oil down the drain. Seal it in a container and follow your local disposal rules.
Accuracy and Safety Note: Hot oil can cause serious burns and fires. Keep a lid nearby and keep children and pets away from the stove. For general guidance, see FoodSafety.gov and the USDA.
Note: If anyone in your home has a peanut, tree nut, or sesame allergy, read labels closely and ask a doctor or the manufacturer before using those oils. The FDA shares food labeling information.
A weekly check keeps your oils fresh and your stove area safe.
Practical guide: Weekly oil care checklist
Sticky bottles and warm shelves shorten an oil’s life. Five minutes a week is usually enough.
Oil Tools and Containers: What Fits Your Kitchen
Any types of cooking oils guide works better when paired with the right tools.
These four tools are the ones most home cooks reach for when working with oil.
Practical guide: Tool fit dashboard
Helps you stop guessing at frying heat. Best if you fry often.
Limits light exposure for pantry oils. Best for olive oil you use slowly.
Removes crumbs from oil you plan to reuse. Best after shallow frying.
Cuts off air to small flames. Best kept beside the stove.
Buy the tool that solves a problem you actually have. A lid is the one every kitchen should keep handy.
Not every oil earns equal space in a home pantry. This chart shows a rough priority order.
Practical guide: Typical routine priority (not measured data)
Neutral high-heat oil: High
Extra virgin olive oil: High
Butter or ghee: Medium
Finishing oils (sesame, nut): Low
Cover the basics first, then add finishing oils if your cooking style calls for them. This is a general guide, so adjust it to your own meals.
Common Mistakes vs. Better Choices
When to Contact a Professional or Manufacturer: Call 911 for a spreading fire, and seek medical help for serious burns. Contact the manufacturer if a bottle leaks or a thermometer or sprayer seems faulty. Report suspected food-safety problems through official channels listed on FoodSafety.gov.
This article may contain affiliate links. If you buy through these links, we may earn a small commission at no extra cost to you. We only mention products that fit the topic and recommend checking current specs and care instructions directly with the manufacturer.
Helpful Tools for Cooking With Oil
Deep-Fry Thermometer
Can make frying less of a guessing game. Confirm the temperature range and care steps with the manufacturer.
Dark Glass Oil Bottle
Many home cooks find this convenient for pantry storage. Look for a tight cap and an easy-pour spout.
Frequently Asked Questions
What is the best all-purpose cooking oil?
Refined canola or vegetable oil is a common pick because it has a mild taste and handles medium to high heat. Many home cooks also keep extra virgin olive oil for flavor.
Which cooking oil should I buy first?
Start with one neutral, high-heat oil and one extra virgin olive oil. A types of cooking oils guide like this one can then help you add specialty oils later.
Can I fry with extra virgin olive oil?
You can for gentle pan-frying at medium heat. For hot searing or deep frying, a refined oil with a higher smoke point is usually easier to manage.
How can I tell if cooking oil has gone bad?
Rancid oil often smells like stale nuts or old crayons and may taste bitter. If the smell or taste seems off, throw it out and check the label for storage guidance.
Can I reuse frying oil?
Sometimes. Let it cool, strain out bits, and store it sealed. Discard it if it smells off, looks dark, foams, or smokes at low heat.
How do I put out a grease fire?
Turn off the heat and cover the pan with a metal lid. Never use water. If the fire spreads or you are unsure, leave and call 911.
Final Thoughts
Keep this types of cooking oils guide nearby when you shop or cook. Match the oil to your heat and flavor needs, store it cool and dark, and follow the manufacturer’s instructions for any tools you use. Stay with the pan while oil heats, follow food-safety guidance, and seek medical or emergency help for serious burns or fires.
