
By Olivia Bennett
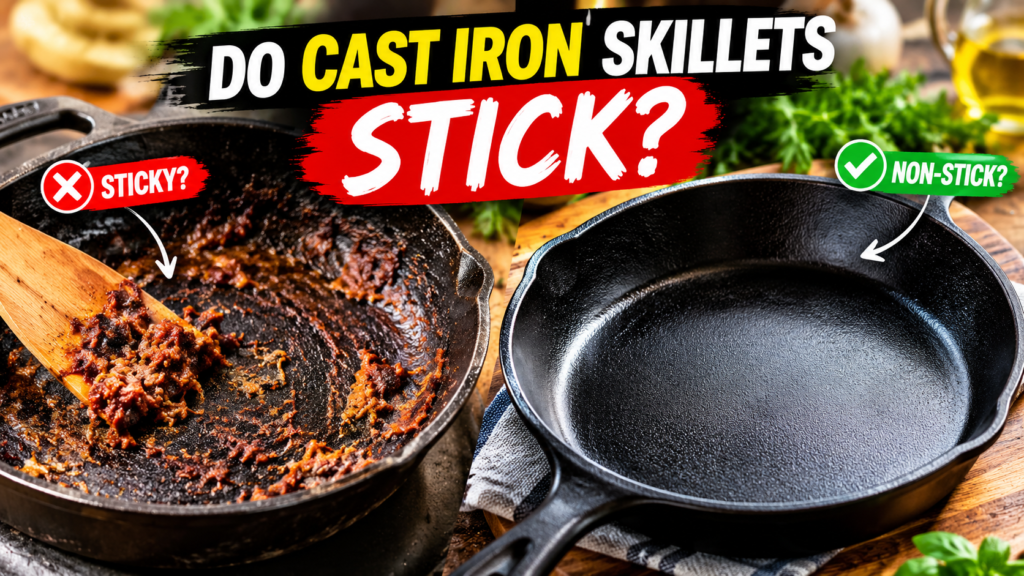
Quick Answer: Yes, cast iron skillets can stick, especially when the pan is new, poorly seasoned, or used without preheating. Good seasoning, steady preheating, enough fat, and patience before flipping help food release more easily.
Cast iron has a reputation for being nonstick once it is “well seasoned.” That leaves many new owners confused when eggs weld themselves to the pan on day one. So, do cast iron skillets stick? They can, and the reasons are usually simple and fixable.
This matters because sticking wastes food, makes cleanup harder, and can tempt people to scrub away the seasoning they are trying to build. In this guide you will learn why sticking happens, how to tell what went wrong, and what to change next time. You will also see a step-by-step routine, a few safety notes, and answers to common questions.
Please note: This article is for general educational and buying-guidance purposes only. It does not replace the manufacturer’s official manual, food safety guidance, or professional advice. Materials, specifications, and care instructions can vary by product and should be confirmed with the manufacturer before purchase or use. For product defects, suspected food-safety issues, or injuries such as burns or cuts, contact the manufacturer, a qualified professional, or seek medical help as needed.
Why Cast Iron Skillets Stick in the First Place
Cast iron looks smooth, but up close the metal surface is slightly rough. Food proteins, especially from eggs, fish, and lean meat, can grip those tiny peaks and bond with the hot metal. Seasoning fills in that roughness. Seasoning is a thin, hardened layer of baked-on oil that gives the surface a slicker finish.
Sticking is rarely a sign that the pan is “bad.” It usually points to one of four things: the seasoning layer is thin or damaged, the pan was not hot enough when the food went in, there was not enough fat, or the food was moved too soon. Many home cooks find that fixing just one of these makes a big difference.
Some pans also arrive with a factory seasoning that is light. Many modern pans are sold pre-seasoned, but that first layer is only a starting point. Check the manufacturer’s guidance for your specific skillet, because coatings and care advice differ from brand to brand.
Table 1: New vs. Well-Seasoned Cast Iron
Choose a fattier first meal if your pan is new. Avoid starting with scrambled eggs or delicate fish if the surface still looks patchy. Check the manufacturer’s guidance if your pan has an enamel coating, since enameled cast iron follows different rules than bare cast iron.
Do Cast Iron Skillets Stick More Than Other Pans?
Compared with a modern nonstick pan, a cast iron skillet will usually need more attention. Compared with stainless steel, many cooks find cast iron more forgiving once it is seasoned. Cast iron holds heat well, which helps with browning, but it heats slowly and unevenly on some burners, so cold spots can cause food to grab.
Experienced cooks notice that cast iron changes over time. A pan that sticks in month one may behave very differently after months of regular cooking with fat. That is why consistent use often helps more than any single trick.
Note: Seasoning builds gradually. Fatty foods such as bacon, burgers, and sautéed vegetables in oil help add to it. Very acidic, long-simmered dishes, such as tomato sauce, can be hard on a young seasoning layer, so many cooks save them for later.
Common Reasons Food Sticks
When food sticks, look at what happened right before. The clue is usually in the heat, the fat, or the timing. The table below helps you match the symptom to a likely cause.
Table 2: Sticking Problem vs. Likely Cause
How to Keep Food From Sticking: A Simple Routine
If you want one reliable habit, follow the same sequence every time. The flow below shows the order that many home cooks find helpful. Read it once, then use the steps that follow for detail.
Practical guide: Non-Stick Cooking Flow
Dry pan and food
Medium, a few minutes
Coat the surface
Let a crust form
When it releases
This flow works because each step removes one common cause of sticking. A dry surface limits steam, preheating helps the iron respond evenly, fat fills tiny gaps, and waiting lets food form a crust that releases more easily.
Step-by-Step: Cooking Without the Struggle
Tip: A realistic example: you want fried eggs on a newer skillet. Preheat for a few minutes, add a little more butter or oil than you would use in a nonstick pan, and let the whites set before you touch them. If they still grip, try a fattier meal such as bacon first to help build seasoning.
Seasoning: The Main Reason a Pan Releases Food
Seasoning forms when a thin coat of oil is heated until it hardens and bonds to the metal. Over time, repeated cooking and occasional re-seasoning can make the layer more even. A good layer often looks dark and smooth rather than shiny or sticky.
The most common seasoning mistake is using too much oil. A thick coat can turn tacky or blotchy instead of hard and smooth. If you re-season, wipe the oil on, then wipe nearly all of it off so the surface looks almost dry. Follow the manufacturer’s oven and temperature instructions for your pan, because recommendations vary.
Table 3: Safer Habits vs. Risky Habits
Warning: Cast iron stays hot for a long time and the handle gets just as hot as the pan. A sudden temperature change, such as cold water on a very hot skillet, may damage the metal. Let it cool safely before cleaning.
Which Foods Stick Most Often?
Not all foods behave the same. Proteins and starches bond more readily, while fatty foods tend to release more easily. Knowing which category your dinner falls into helps you decide how much fat, heat, and patience to use.
Relative difficulty: Sticking risk on a newer skillet (a rough kitchen guide, not test data)
Read this chart as a general idea of which foods tend to be trickier, not as lab results. If your pan is new, start at the bottom of the list and work up as the surface darkens and smooths out.
When Seasoning Is Damaged: What to Check
If food sticks everywhere, not just in one spot, the seasoning may be worn, scratched, or uneven. Before you decide anything drastic, use the path below to narrow down the problem.
Practical guide: Sticking Troubleshooting Path
Most sticking problems end at Check 1 or Check 2. Rust and pitting are less common, and a pan with heavy damage or cracks may be a reason to ask the manufacturer for guidance rather than keep using it.
Accuracy and Safety Note: Seasoning instructions, oven temperatures, and recommended oils differ between brands. Always confirm care steps in your pan’s manual. For general kitchen and food safety information, you can visit FoodSafety.gov. Cook meat, poultry, and eggs to safe temperatures and keep raw and cooked foods separate.
Cleaning Without Ruining the Surface
A common belief is that you can never use water on cast iron. In practice, many manufacturers allow a quick wash with water and a gentle brush or sponge. The key is to dry the pan thoroughly afterward, since lingering moisture can cause rust.
For stuck-on bits, a plastic scraper, a stiff brush, or a little coarse salt can help lift residue. Avoid harsh scouring pads on a pan with a fragile seasoning layer. Check the manufacturer’s guidance if you are unsure whether soap is suitable for your pan.
Table 4: Tool and Material Fit for Cast Iron Care
Practical guide: Cast Iron Care Checklist Dashboard
Wipe or rinse the pan while it is still warm. Dry it completely before putting it away.
Rub on a very thin layer of oil and wipe off the excess. This helps protect the surface from moisture.
Look at heat, fat, and dryness first. If the surface looks patchy, consider a thin re-seasoning.
Keep the pan in a dry spot. If you stack cookware, a paper towel between pans can help protect the surface.
Think of this dashboard as a quick weekly habit list. If you keep these four areas under control, many sticking problems never get started.
Mistakes That Make Sticking Worse
Some habits quietly work against your pan. The good news is that each one has an easy swap. Review the table below and see which ones sound familiar.
Table 5: Common Mistake vs. Better Choice
Avoid blaming the pan before you check the routine. Choose a slower preheat and a little extra fat if you are not sure which fix to try first.
Typical routine priority: Which habits matter most for less sticking (a guide, not research)
If you only change one thing this week, start with preheating and fat. Re-seasoning helps, but it works best when your daily cooking habits are already solid.
When to Contact the Manufacturer or a Professional: Reach out to the maker if your pan has cracks, a warped base that will not sit flat, a loose or damaged handle, or a coating that is peeling. If you get a serious burn, seek medical help right away. If you suspect a food-safety problem, such as illness after a meal, contact a healthcare professional. You can also visit the CPSC for general product safety information.
Is It Worth Buying a Pre-Seasoned Skillet?
If you are shopping, a pre-seasoned pan can be a convenient starting point because it arrives ready to cook. It will not be perfectly nonstick right away, so keep expectations realistic. Many home cooks find that regular use with fatty foods improves release over time.
Choose a pre-seasoned skillet if you want to cook soon after unboxing. Avoid assuming any pan is fully nonstick from the start. Check the manufacturer’s guidance for the seasoning type, oven limits, and cleaning advice before you buy or use it.
This article may contain affiliate links. If you buy through these links, we may earn a small commission at no extra cost to you. We only mention products that fit the topic and recommend checking current specs and care instructions directly with the manufacturer.
Cast Iron Skillet
A pre-seasoned cast iron skillet can make daily cooking easier and gives you a place to start building your own seasoning. Confirm size, seasoning type, and care instructions on the current product page before buying.
Cast Iron Scraper and Brush Set
A scraper and brush set can make it easier to lift stuck food without harsh scouring. Many home cooks find this convenient for regular cleanup. Check that the tools suit your pan’s finish before using them.
Frequently Asked Questions
Do cast iron skillets stick?
Yes, they can. Sticking is most common with new or lightly seasoned pans, low preheating, too little fat, or early flipping. Better habits and regular seasoning often reduce it.
Why does my cast iron skillet stick even after seasoning?
A thin, uneven, or sticky seasoning layer can still let food grip. Check preheating and fat first, then look for patchy or tacky spots that may need a thinner re-seasoning.
Why do eggs stick to cast iron?
Egg proteins bond easily with hot metal. Preheat the pan, use enough fat, and let the eggs set before moving them to help them release.
Can I use soap on a cast iron skillet?
Many manufacturers allow a small amount of mild soap, but guidance varies. Check your pan’s instructions, then dry it fully and apply a thin coat of oil.
Should I add oil every time I cook in cast iron?
Most cooks add some fat each time, especially with eggs, fish, or lean foods. Fatty foods like bacon may release their own fat as they cook.
How long does it take for a cast iron skillet to become less sticky?
There is no fixed timeline. Many home cooks notice better release after regular cooking with fat and gentle care over weeks or months.
When should I contact the manufacturer about a sticking pan?
Contact them if the surface is peeling, the pan has cracks or a loose handle, or sticking continues despite following their care instructions.
Final Thoughts
Cast iron can stick, but it usually responds well to simple habits: dry food, steady preheating, enough fat, and a little patience. Treat seasoning as something you build over time rather than a one-time step.
Always check your pan’s manufacturer instructions for material and care details, follow food-safety guidance when cooking, and seek professional or medical help for serious burns or product problems.
