
By Olivia Bennett
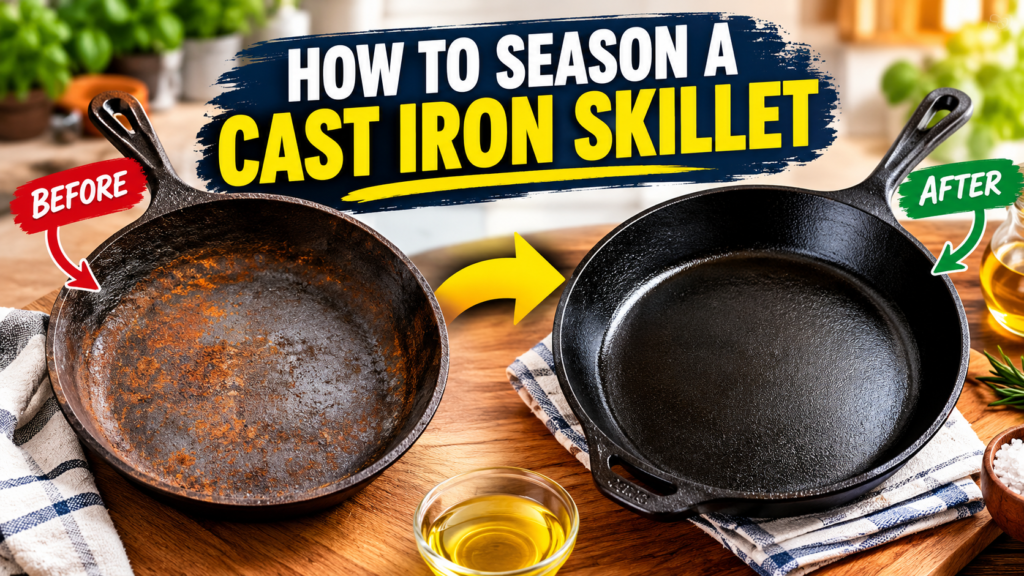
A cast iron skillet can go from a reliable kitchen favorite to a frustrating mess when food sticks, the surface feels tacky, or rust begins to appear. When that happens, knowing how to season a cast iron skillet properly can make a real difference in how you care for your cookware.
I want to make the process straightforward, whether you’re preparing a brand-new skillet or restoring one that has lost some of its protective finish. Start by washing the pan, drying it completely, and rubbing on an extremely thin layer of suitable cooking oil. Wipe away any excess, then bake the skillet upside down in a hot oven for about an hour. Let it cool inside the oven, and repeat the process if you want to build up additional seasoning.In this guide, I’ll walk you through the seasoning process, explain how to approach oil selection and oven temperature, and cover the everyday habits that help maintain your skillet. I’ll also address common problems, including sticky residue and rust, so you can make informed decisions about caring for your cast iron.
Please Note: This article is for general educational and buying-guidance purposes only. It does not replace the manufacturer’s official manual, food safety guidance, or professional advice. Materials, specifications, and care instructions can vary by product and should be confirmed with the manufacturer before purchase or use. For product defects, suspected food-safety issues, or injuries such as burns or cuts, contact the manufacturer, a qualified professional, or seek medical help as needed.
How to Season a Cast Iron Skillet: What Seasoning Really Is
Seasoning is not a spice or a store-bought coating. It is a thin layer of oil that has been baked onto the iron until it hardens. This layer fills tiny pores in the metal, which can make the pan smoother and help protect it from moisture.
Beginner check: a seasoned pan looks even and slightly dull to semi-glossy, never wet or tacky. Choose a full oven reseason if the surface looks patchy, gray, or rusty. Check the manufacturer’s guidance if your pan came pre-seasoned.
Choosing the Right Oil
Beginners learning how to season a cast iron skillet often ask about oil first. A neutral oil is a common starting point, and many cast iron makers suggest everyday choices such as vegetable oil, canola oil, or melted shortening.
Comparing Common Oils for Seasoning
| Oil | Why Home Cooks Use It | Keep in Mind |
|---|---|---|
| Vegetable oil | Easy to find and budget friendly | Blends vary, so read the label |
| Canola oil | Neutral flavor, widely available | Thick coats can turn sticky |
| Grapeseed oil | Often chosen for light, thin films | Often costs more per bottle |
| Flaxseed oil | Popular for a hard, glossy finish | Some cooks report flaking |
| Melted shortening | Mild and simple for beginners | Wipe well to avoid greasiness |
Choose this if you want a simple start: use one neutral oil you already own.
Here is the full routine at a glance, so you know the order before you begin.
Wash
Dry
Oil thinly
Bake upside down
Cool in oven
Read the flow from left to right. Wiping off the oil is the step beginners skip most, and it often decides whether the finish is smooth or sticky. The layer should look almost dry before the pan goes in the oven.
What You Need Before You Start
You do not need fancy gear. Gather mild dish soap, a stiff brush, lint-free cloths, a bottle of cooking oil, oven mitts, and foil or a baking sheet to catch drips. Set an oven rack low enough for the pan to sit upside down.
Note: A pan sold as pre-seasoned may only need a quick wash and a thin oil coat. Check the label or manufacturer page before scrubbing it hard.
How to Season a Cast Iron Skillet in 6 Steps
Plan on about two hours, including cooling time.
Experienced-cook observation: many people prefer several thin coats over one thick coat, since thick coats tend to turn sticky.
Tip: Turn on the vent fan or open a window. Light smoke can happen during baking, and fresh air keeps the kitchen comfortable.
Seasoning Problems and Likely Causes
| Problem | Likely Cause | What Many Cooks Try |
|---|---|---|
| Sticky surface | Too much oil or low heat | Bake again with no new oil |
| Flaking bits | Thick coats or weak bond | Scrub loose bits, add thin coats |
| Blotchy color | Uneven oil or acidic foods | Oil lightly and bake again |
| Orange rust | Moisture or soaking | Scrub, dry, then re-season |
| Smoky oven | Heavy oil or drips | Wipe more, use a pan below |
If the surface still looks off, this quick path can help you decide your next move.
Answer each question honestly from the top. Most sticky pans need more oven time, not more oil. Rust is common and usually fixable, so do not toss the pan.
Warning: Cast iron stays hot long after it leaves the oven. Use oven mitts and keep children and pets away. If you see flames in the oven, keep the door closed, turn the oven off, and call emergency services if the fire continues. For serious burns, get medical help.
Safe Habits After Seasoning
Once you know how to season a cast iron skillet, the real work is keeping that layer healthy. Small daily habits matter more than any single oven session.
Safe Practice vs Risky Practice
| Safe Practice | Risky Practice | Why It Matters |
|---|---|---|
| Thin, wiped-off oil | Pooled oil in corners | Pooled oil bakes into sticky spots |
| Oven mitts for the handle | Bare-hand handle grabs | Iron holds heat for a long time |
| Drying right after washing | Soaking in the sink | Moisture can lead to rust |
| Cooling slowly in the oven | Cold water on a hot pan | Sudden changes may crack metal |
| Venting the kitchen | Baking in a closed room | Light smoke can linger |
Use this checklist after each cooking session to protect the seasoning you built.
Think of this as a two-minute habit. Dryness matters most, because leftover moisture is the main reason rust appears.
Daily Care at a Glance
Wash Gently
Warm water and a brush are usually enough for daily cleaning. Many cooks use a little mild soap on well-seasoned pans, but check the maker’s advice.
Dry Right Away
Towel dry, then warm the pan for a minute. This removes hidden water in the pores of the iron.
Oil Lightly
Rub a few drops of oil over the cooking surface and wipe until it looks dry. Do this while the pan is slightly warm.
Cook Smart
Fatty foods like bacon can help build seasoning. Long-simmered tomato sauces may dull a young layer, so save them for later.
Accuracy and Safety: Cast iron care advice differs by brand. Enameled and vintage pieces may follow different rules, so follow the maker’s guidance. Cook foods to safe temperatures and wash hands and tools after handling raw meat, as described at FoodSafety.gov.
Tools and Pan Types That Fit
Tool and Material Fit Guide
| Tool or Pan | Best Fit | Choose or Avoid |
|---|---|---|
| Chainmail scrubber | Stuck-on food | Choose if bits cling; avoid on enamel |
| Stiff nylon brush | Daily cleaning | Choose for gentle upkeep |
| Steel wool | Rust removal | Avoid on healthy seasoning |
| Lint-free cloth | Wiping oil thin | Choose for every coat |
| Enameled pan | Different care rules | Do not season unless approved |
This dashboard shows which tools suit common cast iron jobs, using a simple practical guide.
Nylon brush: Best fit
Chainmail scrubber: Good fit
Steel wool: Use with care
Lint-free cloth: Best fit
Treat these as everyday guidance, not test results. Start gentle, then step up only if needed.
Common Mistakes and Better Choices
Mistakes vs Better Choices
| Mistake | Better Choice |
|---|---|
| Too much oil | Wipe until nearly dry |
| Skipping the drying step | Warm the pan on low heat |
| Soaking overnight | Clean soon after cooking |
| Harsh scrubbing every day | Gentle brush, then re-oil |
| Cooking tomatoes first | Start with fatty foods |
This chart compares how hard common cast iron jobs feel for most beginners.
These bars are a rough practical guide, not measured data. Most daily care is easy, while rust repair takes more time and patience.
Contact the Manufacturer or a Professional: If a new pan arrives cracked, warped, or defective, contact the maker or seller. You can also review product safety information at CPSC.gov. For serious burns or kitchen fires, get medical or emergency help right away.
Helpful Tools for Cast Iron Care
This article may contain affiliate links. If you buy through these links, we may earn a small commission at no extra cost to you. We only mention products that fit the topic and recommend checking current specs and care instructions directly with the manufacturer.
Cast Iron Skillet
A pre-seasoned skillet can give you a head start, and you can still add thin oil coats at home. Check each listing and the maker’s care page first.
Chainmail Scrubber
This type of scrubber is often used to lift stuck-on food without harsh soap. Confirm the listing details and avoid it on enameled pans.
Frequently Asked Questions
How often should I season my cast iron skillet?
Many cooks do a full oven seasoning when a pan is new, rusty, or patchy. After that, regular cooking and a thin oil wipe after cleaning are usually enough.
Can I season cast iron on the stovetop?
Many cooks prefer the oven because it heats the whole pan evenly. Stovetop methods can leave uneven spots, so the oven is usually easier for beginners.
What is the best oil for seasoning cast iron?
There is no single best choice. Many home cooks use neutral oils such as vegetable or canola oil, and thin coats matter more than the brand.
Why is my seasoned skillet still sticky?
Sticky pans usually have too much oil or were not baked hot or long enough. Baking the pan again without adding new oil often helps.
Is it safe to use soap on seasoned cast iron?
Many cooks find mild soap is fine on a well-seasoned pan, followed by quick drying and a light oil wipe. Check your manufacturer’s instructions.
Can I season an enameled cast iron pan?
Enameled pans have a coating and different care rules, so seasoning is not normally done. Follow the manufacturer’s instructions.
Final Thoughts
Now you know how to season a cast iron skillet, from a clean start to thin coats and a slow cool-down. Remember to confirm your pan’s material and care needs with the manufacturer, follow food-safety guidance, and seek medical help for serious burns. A little care each day goes a long way.
