
By Michael Hayes
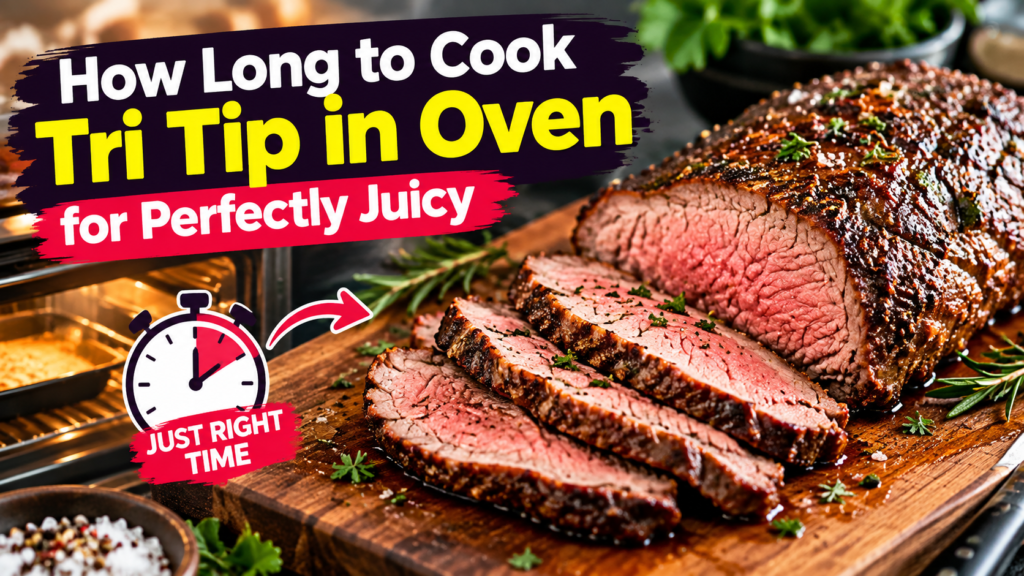
Quick Answer: A 2-pound tri tip roast usually needs about 20 to 40 minutes in a 325°F to 400°F oven, depending on temperature. The most reliable way to know how long to cook tri tip in oven for perfectly juicy results is to pull it at 130-135°F for medium-rare and let it rest.
Why Getting Tri Tip Timing Right Matters
Tri tip is a lean, triangular cut from the bottom sirloin that can go from tender to tough in just a few extra minutes in the oven. Because the roast is thick on one end and thin on the other, many home cooks find that oven temperature and internal doneness matter more than the clock alone.
In this guide, you’ll learn how long to cook tri tip in oven settings at different temperatures, how to check doneness safely, common mistakes that dry out the meat, and practical decision rules for resting, slicing, and storing leftovers.
This article is for general educational and buying-guidance purposes only. It does not replace the manufacturer’s official manual, food safety guidance, or professional advice. Materials, specifications, and care instructions can vary by product and should be confirmed with the manufacturer before purchase or use. For product defects, suspected food-safety issues, or injuries such as burns or cuts, contact the manufacturer, a qualified professional, or seek medical help as needed.
Understanding Tri Tip Before You Cook It
Tri tip is naturally lean, so it can dry out quickly if it’s left in the oven past the right internal temperature. Many home cooks find that letting the roast sit at room temperature for about 30 to 45 minutes before cooking helps it cook more evenly, since a cold center takes longer to reach a safe internal temperature. Choose a heavier roast when you want more forgiving timing, since thinner cuts cook faster and can overshoot doneness in just a minute or two.
When people ask how long to cook tri tip in oven settings, the honest answer is that weight, oven temperature, and starting temperature of the meat all shift the number. That’s why an internal-temperature check is a more dependable guide than a clock alone.
Table 1: Tri Tip Oven Time and Temperature Comparison
| Oven Temperature | Approx. Time (2 lb roast) | Typical Result |
|---|---|---|
| 325°F | 30-40 minutes | Even, gentle cooking; more forgiving |
| 350°F | 25-35 minutes | Balanced speed and evenness |
| 400°F | 20-30 minutes | Faster cooking; watch closely near the end |
Times are general starting points, not guarantees. Always confirm doneness with a meat thermometer rather than relying on time alone.
Step-by-Step: How Long to Cook Tri Tip in Oven the Right Way
This step-by-step process is a practical routine many home cooks use, not a guaranteed formula, since ovens and roast shapes vary.
- Pat the roast dry and season. Removing surface moisture helps the outside brown instead of steam.
- Sear the outside first. A quick sear in an oven-safe skillet on the stovetop before the oven step can help build flavor and color.
- Place on a rack in a roasting pan. Elevating the roast lets air circulate so it cooks more evenly on all sides.
- Roast at your chosen temperature. Use the Table 1 chart as a starting point, checking a bit earlier than the low end of the range.
- Start checking internal temperature at the earliest estimated time. Insert a thermometer into the thickest part, avoiding fat pockets.
- Pull the roast a few degrees before your target. The internal temperature typically continues rising a little during rest.
- Rest for 10 to 15 minutes before slicing against the grain. This helps the roast hold its juices.
Here’s a simple visual of the routine described above, from prep to plate.
This flow shows why timing alone doesn’t answer how long to cook tri tip in oven settings — the temperature checks in the middle are what actually confirm doneness.
Tip: Letting the roast rest under a loose foil tent, rather than tightly wrapped, can help keep the surface from turning soft while the juices redistribute.
Checking Doneness and Internal Temperature
An instant-read thermometer is generally more reliable than cutting into the meat to check color, since a cut releases juices and can leave the roast drier. Many home cooks aim for these general ranges: roughly 125-130°F for rare, 130-135°F for medium-rare, 140-145°F for medium, and 150-155°F for medium-well to well-done, keeping in mind the temperature typically rises a few more degrees during rest.
Accuracy Note: The USDA recommends cooking whole cuts of beef, including tri tip, to a minimum internal temperature of 145°F with a 3-minute rest for food safety, though many home cooks prefer to cook to a personal taste preference within a safe range. Check the manufacturer’s guidance on your thermometer for calibration steps, and confirm current recommendations at FoodSafety.gov.
Use this simple decision path if you’re unsure whether your roast is ready.
This path is a practical guide, not a substitute for official food-safety guidance from USDA or FoodSafety.gov.
Warning: Avoid cutting into a roast early to “check” doneness by color alone, and never leave cooked tri tip at room temperature for more than about two hours, since bacteria can grow quickly in that range. When in doubt about food safety, discard the item.
Table 2: Common Tri Tip Problems and Likely Causes
| Problem | Likely Cause |
|---|---|
| Roast is dry and tough | Overcooked past target temperature, or sliced with the grain |
| Uneven doneness end to end | Roast wasn’t brought closer to room temperature first, or thermometer wasn’t placed in the thickest part |
| Pale, soft crust | Skipped searing step, or roast wasn’t patted dry beforehand |
| Juices pool out when sliced | Cut too soon after removing from the oven, without resting |
Common Mistakes That Affect How Long Tri Tip Needs in the Oven
Choose a lower oven temperature if you’re new to cooking tri tip, since it gives you a wider window to catch the right internal temperature. Avoid guessing based on time alone if your oven runs hot or cold compared to its dial, since even a 15-20 degree difference can shift things by many minutes.
Table 3: Safe Practice vs. Risky Practice
| Safe Practice | Risky Practice |
|---|---|
| Using a clean, calibrated thermometer for each check | Using the same unwashed thermometer probe on raw and cooked meat |
| Resting the roast on a clean cutting board | Resting cooked meat on the same plate that held it raw |
| Refrigerating leftovers within two hours of cooking | Leaving cooked tri tip out on the counter for hours |
| Using oven mitts rated for high heat when removing the pan | Using thin towels near a hot rack or open oven door |
Table 5: Mistake vs. Better Choice
| Mistake | Better Choice |
|---|---|
| Cooking straight from the fridge | Let the roast sit out 30-45 minutes first for more even cooking |
| Slicing immediately after the oven | Rest 10-15 minutes under a loose foil tent |
| Slicing with the grain | Identify the grain direction and slice across it |
Storing and Reheating Leftover Tri Tip
Once sliced, leftover tri tip is often best stored in a shallow, airtight container so it cools quickly and evenly. Many home cooks find that reheating gently, rather than blasting it on high heat, helps preserve juiciness.
A quick checklist for handling leftovers safely.
Following a checklist like this reduces the guesswork around how long cooked tri tip stays safe to eat after it leaves the oven.
Choosing the Right Tools for Consistent Results
Having the right tools can make it easier to nail how long to cook tri tip in oven settings without guesswork, since a reliable thermometer and a sturdy roasting setup remove much of the uncertainty.
Table 4: Tool and Material Fit
| Tool | Best Fit For |
|---|---|
| Instant-read digital thermometer | Quick, accurate spot-checks near the end of cooking |
| Leave-in probe thermometer | Monitoring temperature continuously without opening the oven |
| Roasting pan with rack | Even air circulation around the roast |
| Oven-safe cast iron skillet | Searing on the stovetop, then transferring straight to the oven |
A simple dashboard view of which tool matters most at each stage.
Cast Iron Skillet
Rack + Pan
Probe Thermometer
Instant-Read
This is a practical guide to tool priority, not a ranking based on lab testing.
Relative difficulty of each step in the process, as a practical guide.
Typical routine priority: temperature monitoring and resting tend to matter most for a juicy result, more than the exact oven setting used.
Note: Pan size matters more than many home cooks expect. A pan that’s too large can cause drippings to burn, while one that’s too small can crowd the roast and slow even cooking.
This article may contain affiliate links. If you buy through these links, we may earn a small commission at no extra cost to you. We only mention products that fit the topic and recommend checking current specs and care instructions directly with the manufacturer.
Instant-Read Digital Meat Thermometer
An instant-read thermometer can help take the guesswork out of pulling the roast at the right internal temperature. Many home cooks keep one on hand for quick checks near the end of cooking.
Roasting Pan with Rack
A rack lifts the roast above the pan drippings, which many home cooks find helps promote more even browning and airflow around the meat.
Contact the Manufacturer or a Professional If: your thermometer gives inconsistent readings after calibration, your oven’s temperature seems significantly off from its dial setting, or you suspect a suspected food-safety issue with the meat itself. For product defects or injuries such as burns, contact the manufacturer or seek appropriate medical help.
Frequently Asked Questions
How long to cook tri tip in oven for perfectly juicy results at 350°F?
For a roughly 2-pound roast at 350°F, many home cooks find 25 to 35 minutes is a useful starting point, checking internal temperature toward the earlier end of that range.
What internal temperature makes tri tip perfectly juicy?
Many home cooks aim for 130-135°F for medium-rare, since it tends to balance tenderness and juiciness, though personal preference varies within a safe range.
Should I sear tri tip before or after the oven?
Searing before roasting is a common approach, since it can help build a flavorful crust before the roast finishes cooking through in the oven.
Do I need to cover tri tip with foil while it cooks?
Covering isn’t usually necessary during roasting, but a loose foil tent during the resting period can help keep the surface from cooling too quickly.
Why is my tri tip tough even though I followed the timing?
This is often related to overcooking past the target internal temperature, or slicing with the grain instead of against it, rather than the oven time itself.
How long can leftover tri tip stay in the refrigerator?
Many food safety resources suggest using refrigerated cooked beef within about 3 to 4 days; check FoodSafety.gov for current guidance.
Can I use a meat thermometer that isn’t rated for oven use?
Check the manufacturer’s instructions first, since some instant-read thermometers aren’t designed to stay in the oven and are meant for quick spot-checks only.
Final Thoughts
Getting a consistent answer to how long to cook tri tip in oven settings comes down to watching internal temperature rather than the clock alone. Confirm your thermometer’s accuracy, follow your oven manufacturer’s instructions if the temperature seems off, and follow current food-safety guidance for handling and storing leftovers. When in doubt about a suspected food-safety issue or product defect, reach out to the manufacturer or a qualified professional.
