
By Michael Hayes
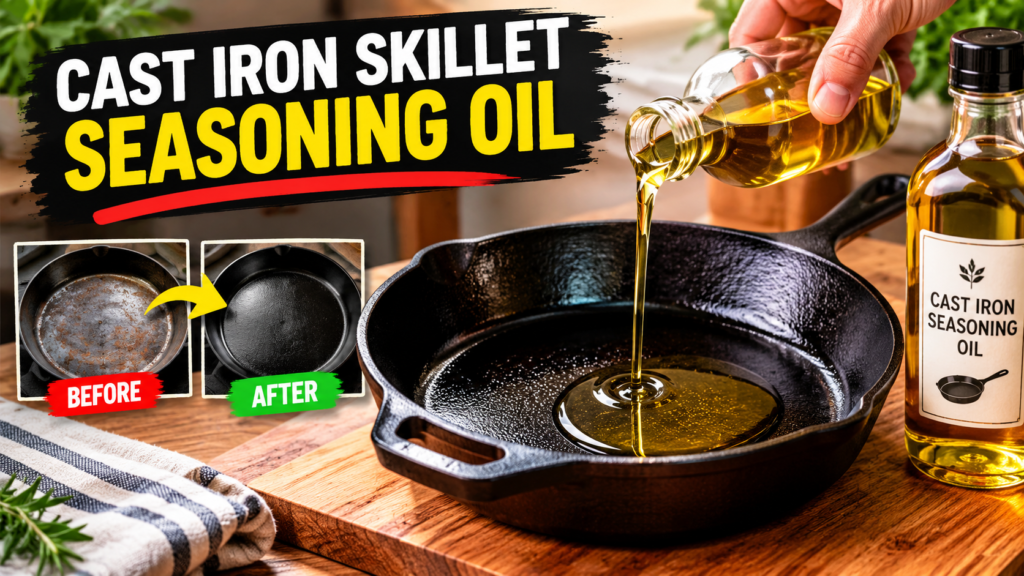
Quick Answer: The best cast iron skillet seasoning oil is a neutral, refined oil with a higher smoke point, such as canola, vegetable, grapeseed, or avocado oil. Apply a very thin coat, wipe off the excess, and bake the pan upside down.
Choosing a cast iron skillet seasoning oil sounds simple until your pan turns sticky, blotchy, or flaky. The oil matters, but the way you apply it matters just as much. A good seasoning layer helps food release more easily and helps protect the iron from rust.
In this guide you will learn how seasoning works, which oils home cooks commonly use, how to season step by step, and how to fix common problems.
Please note: This article is for general educational and buying-guidance purposes only. It does not replace the manufacturer’s official manual, food safety guidance, or professional advice. Materials, specifications, and care instructions can vary by product and should be confirmed with the manufacturer before purchase or use. For product defects, suspected food-safety issues, or injuries such as burns or cuts, contact the manufacturer, a qualified professional, or seek medical help as needed.
How Seasoning Works on Cast Iron
Seasoning is not a coating you paint on. It forms when a thin layer of oil is heated until it bonds to the metal and turns into a hard, slick surface. Cooks call this process polymerization. Each thin layer adds a little more protection.
That is why a cast iron skillet seasoning oil needs to do two things well. It should spread thinly, and it should cure into a hard film without turning gummy. Beginners often use too much oil. The result is a sticky, uneven surface that feels worse than bare iron.
Experienced home cooks notice that seasoning builds mostly through repeated use. Cooking with fat, cleaning gently, and adding a light oil film after drying all help over time.
Common Seasoning Oils Compared
Tip: Choose a refined oil you already have in your pantry. A “perfect” oil applied too thickly will usually perform worse than an ordinary oil applied thinly.
How to Choose the Right Oil
When you pick a cast iron skillet seasoning oil, think about smoke point, flavor, and how much hassle you want. Smoke point is the temperature where an oil starts to smoke. Seasoning is usually baked at a fairly high oven temperature, so refined, neutral oils tend to be easier to work with.
Choose this if you want simple and reliable results: canola, vegetable, or refined avocado oil. Choose flaxseed only if you are comfortable applying very thin layers and accept that results vary. Avoid butter and unrefined oils for the baking step, since milk solids and impurities can burn or leave a sticky film.
A realistic example: you bought a new skillet and have a bottle of vegetable oil in the cupboard. That oil is a perfectly sensible choice. Spend your effort on thin application rather than shopping for something fancier.
Seasoning Routine at a Glance
This short flow shows the full routine before we walk through each step.
Notice that wiping the oil off is its own step. Most sticky seasoning problems start by skipping it.
Step-by-Step: Seasoning in the Oven
Follow your skillet maker’s instructions first, since temperatures and times can differ. The steps below describe a common home method.
Warning: Hot cast iron stays hot for a long time and the handle can burn you. Use dry oven mitts, and never carry a hot pan with a damp towel. Oil can also smoke heavily at high heat, so ventilate the kitchen.
Seasoning Problems and Likely Causes
Troubleshooting Decision Path
Use this path when your pan feels wrong after seasoning.
Most issues fall in the first branch, and the fix is usually patience and a clean cloth rather than a new oil.
Safe Practice vs Risky Practice
Seasoning involves high heat and oil, so a few habits are worth following. The table compares careful choices with ones that raise the chance of smoke, burns, or poor results.
Recommended Practice vs Risky Practice
Accuracy and safety note: Oven temperatures and times in this guide are common home-cook ranges, not official rules. Your skillet maker’s instructions come first, and an enameled or specially coated pan may have different care needs.
Daily Care That Protects Your Seasoning
Choosing a good cast iron skillet seasoning oil is only part of the job. Daily habits decide how long the surface lasts. Clean the pan soon after cooking, dry it fully, and add a barely visible film of oil before storing it.
Simple Care Checklist
This quick dashboard shows four habits that matter most after each use.
Use warm water and a soft brush. Avoid soaking the pan for long periods.
Towel dry, then warm on low heat for a minute. Moisture is the main cause of rust.
Rub in a tiny amount, then wipe until it looks almost dry.
Keep it in a dry spot. A paper towel inside can absorb stray moisture.
Do these four things consistently and you may rarely need a full oven re-season.
Note: Cooking acidic foods like tomato sauce for a long time can dull seasoning on some pans. Short cooking times are usually less of a concern once the surface is well built.
Matching Your Oil to Your Cooking Style
The right oil depends on how often you cook, how much effort you want to spend, and what you cook most. Use the table as a practical guide, not a ranking.
Which Oil Fits Which Cook
Product Fit Dashboard
Think about two simple questions before you buy anything: how much effort do you want, and how much do you care about finish?
You want easy results, you season occasionally, and you want a low-stress routine.
You enjoy experimenting, you are willing to apply very thin layers, and you accept some variation.
If you are unsure, start with the simple option. You can always experiment later once you understand how thin a coat should feel.
Where Beginners Spend Effort
This “Practical guide” bar chart shows relative difficulty, not scientific data.
Practical guide: Relative difficulty
The oil choice is the easiest part. Technique, especially wiping and drying, takes more attention.
Common Mistakes vs Better Choices
When to contact the manufacturer or a professional:
Contact the maker if your pan has deep cracks, warping, a loose handle, or an unusual coating. Seek medical help for serious burns. For fires, call emergency services, and do not put water on a grease fire. For general kitchen safety information, see the U.S. Consumer Product Safety Commission and FoodSafety.gov.
This article may contain affiliate links. If you buy through these links, we may earn a small commission at no extra cost to you. We only mention products that fit the topic and recommend checking current specs and care instructions directly with the manufacturer.
Helpful Products to Browse
Cast Iron Skillet
Many home cooks find a basic skillet convenient for searing and baking. Compare sizes and check the maker’s care guidance before you buy.
Cast Iron Cleaning Brush
A stiff brush can make gentle cleaning easier without harsh soaking. Look for options that match your pan’s care instructions.
Frequently Asked Questions
What is the best cast iron skillet seasoning oil?
A thin coat of a neutral, refined oil with a higher smoke point, such as canola, vegetable, grapeseed, or avocado oil, is a common choice. Many home cooks find these easy to apply. Check your skillet maker’s guidance too.
Can I use olive oil to season a cast iron skillet?
Refined olive oil can work, but extra virgin olive oil has a lower smoke point and may smoke or turn sticky more easily. Many cooks prefer a neutral oil for seasoning and save olive oil for cooking.
Is flaxseed oil good for seasoning cast iron?
Many cooks use it and like the hard finish, but some report flaking or uneven results, especially with thick coats. If you try it, apply very thin layers and follow the manufacturer’s advice.
Why is my cast iron sticky after seasoning?
Stickiness usually means too much oil was left on the pan, or the oven time or temperature was too low. Wipe the surface until it looks nearly dry, then bake again with a thin coat.
How often should I season my cast iron skillet?
Season again when food starts sticking, the surface looks dull or gray, or rust appears. Regular cooking with fat also builds seasoning. Light touch-ups after cleaning can help.
Do I need to season a pre-seasoned skillet?
Many skillets come pre-seasoned, but extra layers may help the surface over time. Check the manufacturer’s instructions for your pan.
Final Thoughts
The best cast iron skillet seasoning oil is usually a simple, neutral oil used in very thin layers. Good technique, gentle cleaning, and thorough drying do most of the work.
Always check your skillet maker’s instructions, follow food-safety guidance, and seek help from a manufacturer or medical professional for damaged cookware or serious injuries. You can read more general guidance at the FDA website.
