
By Michael Hayes
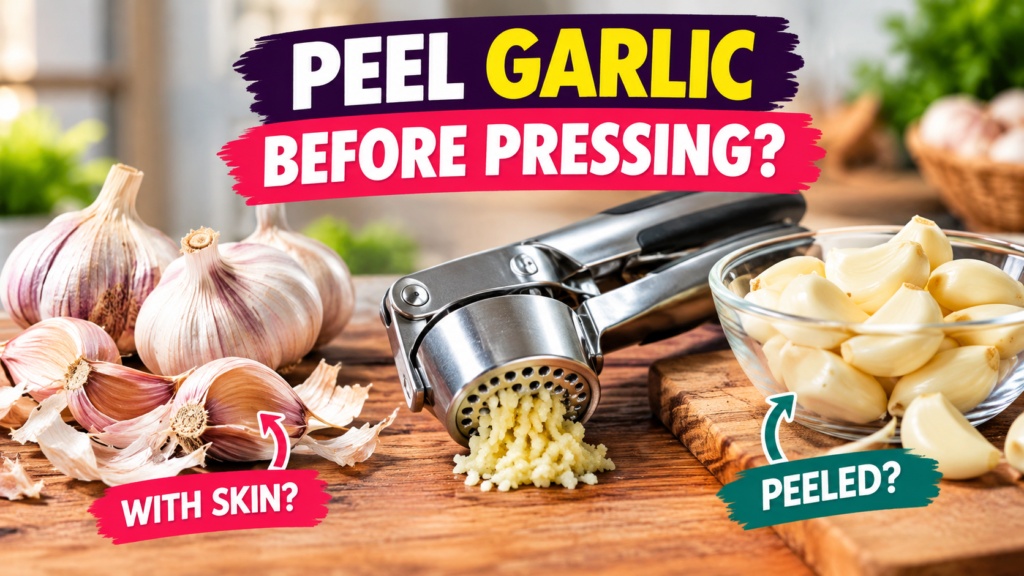
Quick Answer: Do you peel garlic before pressing? Usually not. Many presses are designed to handle unpeeled cloves, and the skin stays behind in the chamber. Peel first if your press is small, hard to clean, or the skin is tough.
Pressing garlic looks simple, yet one small question trips up many beginners: do you peel garlic before pressing, or can the skins go right in? The answer affects prep time, cleanup, and how smooth your garlic turns out. You will learn when skin-on pressing works, when peeling helps, and how to clean the press.
Trust & Accuracy: This article is for general educational and buying-guidance purposes only. It does not replace the manufacturer’s official manual, food safety guidance, or professional advice. Materials, specifications, and care instructions can vary by product and should be confirmed with the manufacturer before purchase or use. For product defects, suspected food-safety issues, or injuries such as burns or cuts, contact the manufacturer, a qualified professional, or seek medical help as needed.
Do You Peel Garlic Before Pressing? The Short Answer
For most home cooks, the answer is no. A garlic press forces a clove through small holes. The papery skin is too thick to squeeze through, so it usually stays in the chamber while the soft garlic comes out. That can save a minute or two.
There is a catch. Some presses have roomy chambers that release skins easily, while others are tight and can jam. Choose skin-on if your chamber is roomy and your cloves are plump. Avoid it if the skin is dry and brittle. Check the manufacturer’s guidance if you are unsure.
Comparison: Skin-On vs Peeled Pressing
| Factor | Skin-on | Peeled first |
|---|---|---|
| Prep time | Fastest, no peeling step | Slower, adds a step |
| Cleanup | Skin often lifts out in one piece | Less skin, but pulp still needs rinsing |
| Press fit | Best in roomy chambers | Works in most press sizes |
| Best for | Quick weeknight cooking | Small presses and tough skins |
How a Garlic Press Handles the Skin
Think of the chamber as a tiny juicer. A plunger pushes the clove against a plate full of holes. Soft garlic squeezes through, while the skin acts like a wrapper that stays behind.
Here is a beginner check. After pressing, look inside the press. If the skin came out in one piece, your press likely suits unpeeled cloves. If it broke into flakes, peel the next batch. Many experienced cooks find fresh cloves release skins more cleanly than dry, old ones.
Note: Pressing breaks open garlic cells, so pressed garlic tends to taste sharper than sliced garlic. Start with a little less if you prefer a mild flavor.
This simple routine shows the usual path from clove to plate.
Garlic Pressing Routine Flow
Choose a plump, firm clove. Skip any clove that is soft or moldy.
Cut off the hard root tip. Keep your fingers away from the blade.
Place one clove in the chamber. Peel it first only if needed.
Squeeze steadily over a bowl. Lift out the skin and scrape the garlic free.
Read the flow from first card to last. The only choice point is peeling: skip it with a roomy press, or add it when skins are stubborn.
When Peeling First Is the Better Choice
Picture a head of garlic that sat in the pantry for weeks. The cloves are small, and the skins feel dry and brittle. Pressing them as they are may leave flaky bits in your sauce, so peeling first makes sense.
So, do you peel garlic before pressing every single time? No, but small, dry, or sprouting cloves are good reasons to peel.
Problem vs Likely Cause When Pressing Garlic
| Problem | Likely cause | What to try |
|---|---|---|
| Skin flakes in the garlic | Old cloves with brittle skin | Peel first or buy fresher garlic |
| Garlic will not squeeze through | Clove too big for the chamber | Cut the clove in half |
| Handles feel very hard | Too much garlic at once | Press one clove at a time |
| Harsh or bitter taste | Old garlic or a green sprout | Remove the sprout or use fresher cloves |
Tip: If a clove is too big for the chamber, slice it in half lengthwise. Press each half separately for an easier squeeze.
How to Press Garlic Step by Step
Still wondering, do you peel garlic before pressing with your own tool? Test this routine with one clove first.
Choose plump cloves with no soft spots, mold, or bad smell.
Use a small knife on a stable board, with fingers curled away.
Leave the skin on if your chamber is roomy. Peel if it is brittle or your press is small.
Press one clove at a time with even pressure. Do not slam the handles.
Open the press, lift out the skin, and scrape the garlic off the plate.
Warning: Keep fingers clear of the hinge when closing the handles. Never force a stuck press with a knife. If a handle bends or snaps, stop using it and contact the manufacturer.
If you feel stuck, follow this quick path.
Skin-On or Peeled Decision Path
Is the chamber roomy and easy to open? If not, peel first.
Are the cloves plump with flexible skin? If not, peel first.
Does the skin come out in one piece? If not, peel the next cloves.
Skin-on is fine for this press. Otherwise, peel and press as usual.
Use this path before each cooking session. It is a practical guide, not a test.
Easy Ways to Peel Garlic When You Need To
Many cooks lay the flat side of a chef’s knife on a clove and press down with the palm until the skin cracks. Others shake cloves in a lidded container for 10 to 20 seconds, or roll them in a silicone peeler tube. For sharp-tool safety, use a stable board and keep your hand away from the edge.
Safe Practice vs Risky Practice for Garlic Prep
| Safe practice | Risky practice | Why it matters |
|---|---|---|
| Smash cloves with the flat of the knife on a stable board | Smashing with a tilted blade on a slippery counter | A slip can cause a deep cut |
| Wash boards and tools after raw garlic | Reusing a board from raw meat unwashed | Cross-contamination can spread germs |
| Throw away moldy or smelly cloves | Trimming off mold and using the rest | Spoiled garlic is not worth the risk |
Cleaning a Garlic Press After Skin-On Pressing
Garlic pulp dries and hardens fast, so rinse your press soon after use. Many cooks find that rinsing right away takes seconds, while dried garlic can take much longer. Some presses are dishwasher safe and some are not, so check the manufacturer’s guidance for your model.
Run through this checklist after each pressing session.
After-Pressing Care Checklist
It takes under a minute and helps prevent clogged holes and stale garlic smell.
Tool Fit: Which Garlic Prep Tool Suits You
| Tool | Best for | Keep in mind |
|---|---|---|
| Garlic press | Smooth garlic for sauces | Holes need regular cleaning |
| Chef’s knife | Control over texture | Takes more skill and time |
| Fine grater | Very fine garlic for dressings | Can be hard on fingertips |
| Silicone peeler tube | Peeling many cloves at once | Does not crush or mince |
Tools That Can Make Garlic Prep Easier
Affiliate Disclosure: This article may contain affiliate links. If you buy through these links, we may earn a small commission at no extra cost to you. We only mention products that fit the topic and recommend checking current specs and care instructions directly with the manufacturer.
A roomy chamber and a hinge that opens wide can make skin removal easier. Check the listing for care instructions.
A peeler tube can help when you peel several cloves before pressing. Check the listing for cleaning guidance.
This dashboard shows which tool suits common situations.
Garlic Tool Fit Dashboard
Often suits skin-on pressing. Choose this if you press garlic weekly.
May work better with peeled, small cloves. Avoid forcing big unpeeled cloves in.
Good for one or two cloves. Choose this if you want less cleanup.
Helpful for many cloves at once. Check the manufacturer’s cleaning guidance.
Match the tool to how often you cook with garlic.
Garlic Safety and When to Ask for Help
Accuracy & Safety: Garlic stored in oil can be a food-safety concern if it is not handled and refrigerated properly. Review guidance from FoodSafety.gov and the USDA before storing it.
Contact the Manufacturer or a Professional: If your press bends, cracks, or pinches, stop using it and contact the manufacturer. For a deep cut, press a clean cloth on it and seek medical help if bleeding continues.
Mistakes vs Better Choices When Pressing Garlic
| Common mistake | Better choice |
|---|---|
| Pressing several cloves at once | Press one clove at a time |
| Letting pulp dry in the press | Rinse right after use |
| Using old, sprouted garlic | Choose firm cloves and remove any green sprout |
| Assuming every press allows skin-on | Read the manufacturer’s instructions first |
This chart shows how tough each task usually feels.
Practical guide: Relative difficulty
Typical routine priority (a rough guide, not a lab measurement)
Cleanup after dried garlic is usually the hardest part, so rinse right away.
Frequently Asked Questions
Do you peel garlic before pressing?
Usually no. Many presses work with unpeeled cloves, and the skin stays in the chamber. Peel first if your press is small, the skin is brittle, or the manual says to.
Can you put unpeeled garlic in a garlic press?
Often yes, if the chamber is roomy and the clove is plump. Try one clove first and check the manufacturer’s instructions.
How do you get the skin out of a garlic press?
Open the press fully and lift the skin out. Rinse right away and clear the holes with a small brush or toothpick.
Does pressing garlic with the skin on change the flavor?
The skin is not eaten, so it should not change taste much. Flaky bits can add a papery texture, though.
Should you remove the green sprout before pressing garlic?
Many cooks do, since it can taste harsher in older garlic. It is optional, but fresher cloves usually taste smoother.
Is pressed garlic safe to store in oil?
Not at room temperature. Garlic in oil can be a food-safety concern, so keep it refrigerated and review FoodSafety.gov and USDA guidance.
Final Thoughts
So, do you peel garlic before pressing? Most of the time you can skip it if your press is roomy and your cloves are fresh. Peel first when the skin is dry or the press is small.
Always check the manufacturer’s instructions, follow food-safety guidance for storing garlic, and seek medical help for deep cuts or injuries.
